Cutting your own hair at home can feel intimidating, but mastering a diy layer haircut is entirely possible with the right guidance. Whether you want to remove bulk, add bounce, or simply refresh your current look, learning to snip those layers yourself saves time and money. This comprehensive guide explores 25 diy layer haircuts tailored for every hair length, texture, and skill level. From classic face framing drops to trendy shaggy finishes, you will discover step by step techniques to achieve salon quality results right at your bathroom sink. Grab your shears, comb, and spray bottle. We are about to dive into the ultimate collection of diy layer haircuts that will transform your mane and boost your confidence instantly.

1. Diy Layered Bob Haircut

Have you ever stared at your blunt bob and wished it had a little more movement? Creating a diy layered bob haircut is the perfect solution to breathe life into your style. Start by dampening your hair and combing it smooth. Pull the top section up and clip it away. Take small horizontal sections from the bottom, and cut at a slight angle to build your base layers. Gradually let down the pinned hair, blending the top sections into the bottom layers using point cutting for a soft finish. This technique removes weight from the ends while maintaining the overall bob shape. You will love how the layered bob frames your face and adds natural volume without losing the chic length of your classic cut.
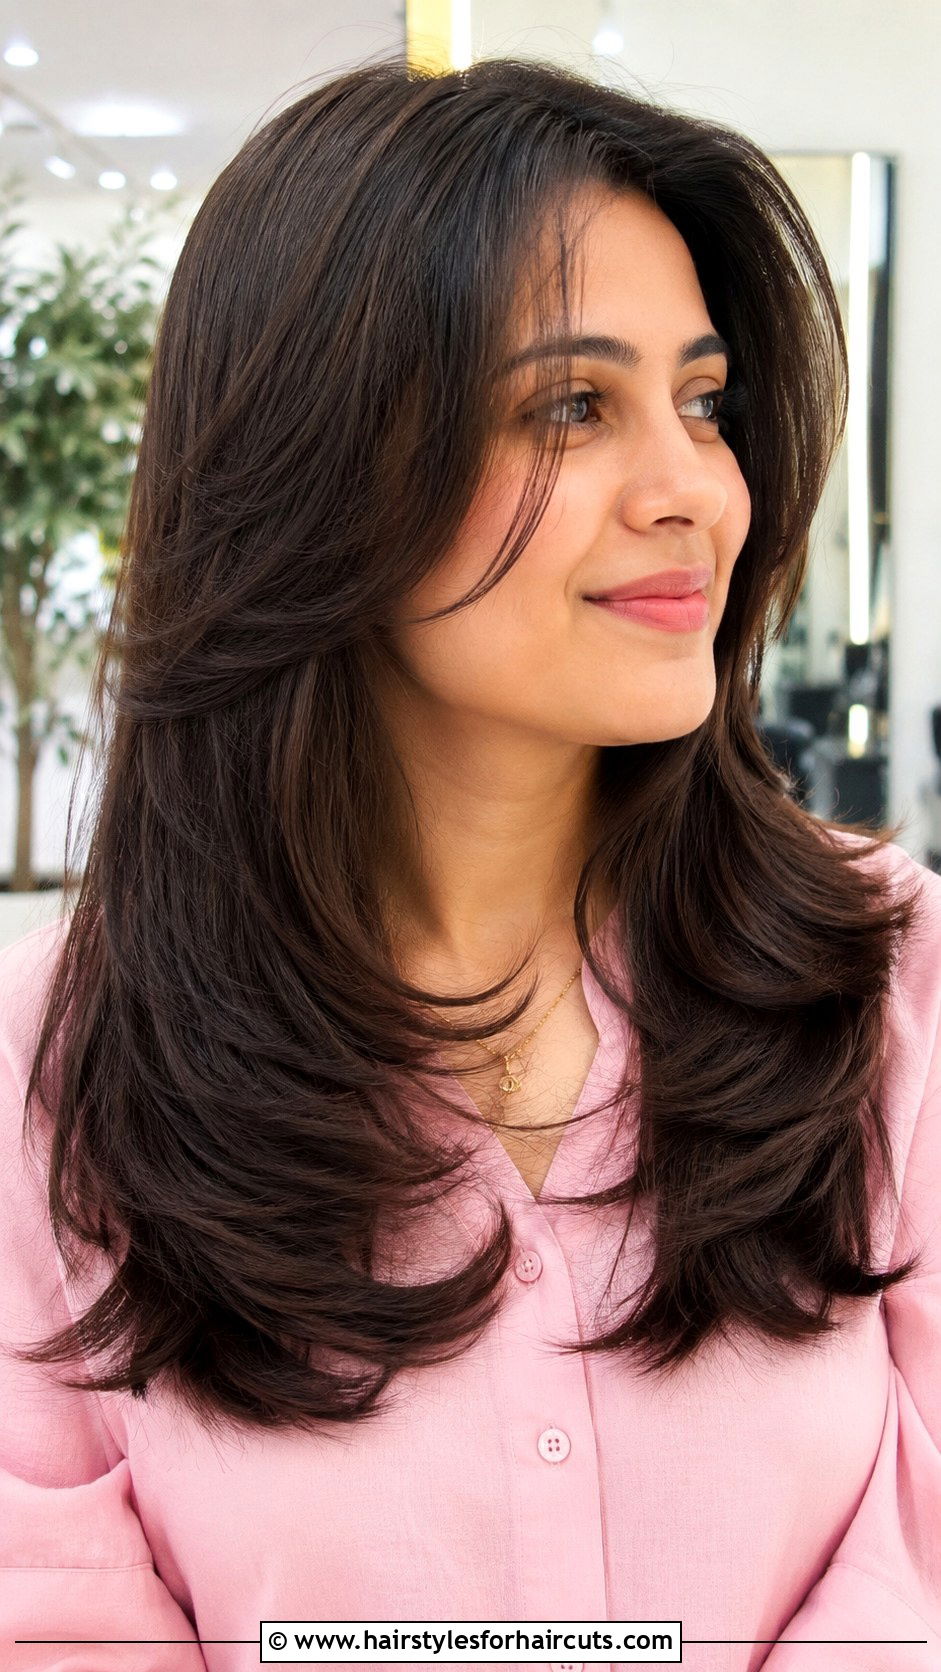
2. Diy Long Layered Haircut
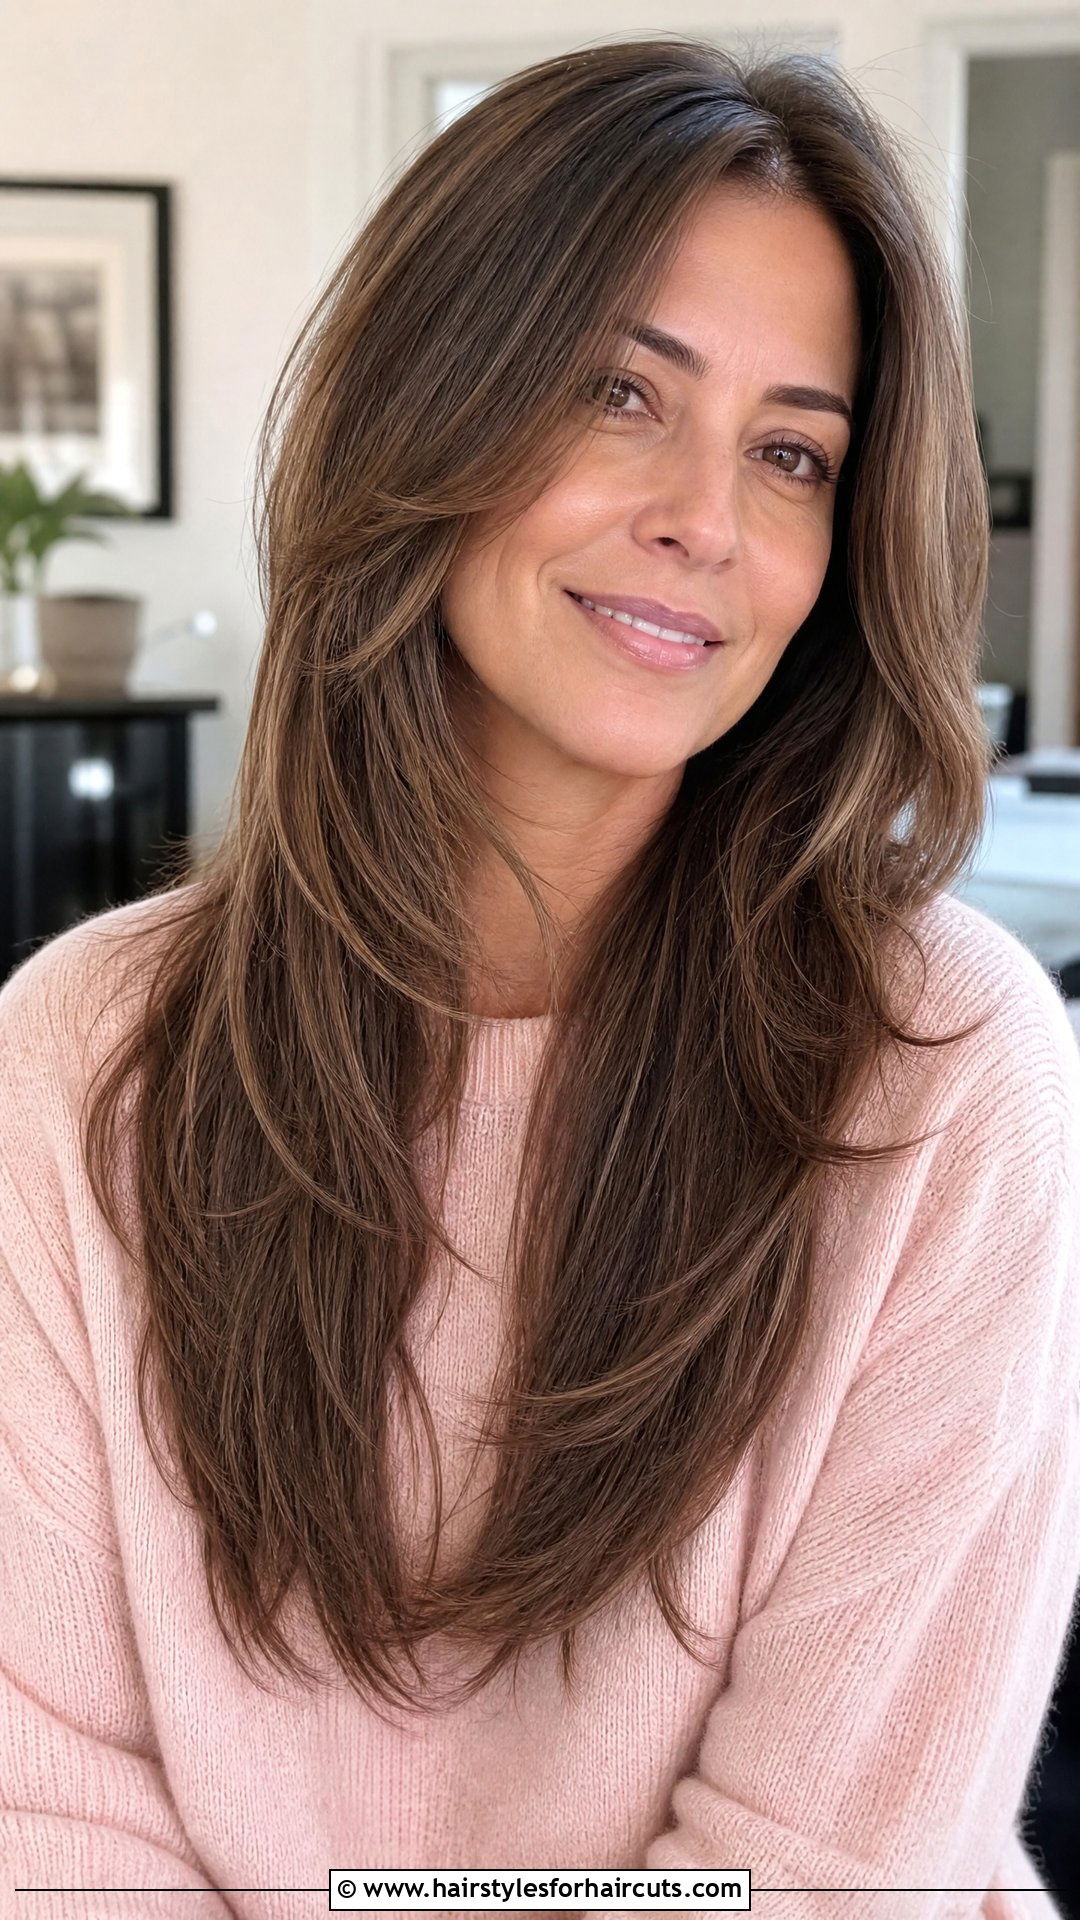
Dreaming of those flowing, cascading layers that catch the wind perfectly? The diy long layered haircut is a must try for anyone wanting to keep their length but add dimension. Begin by brushing your clean, damp hair straight back. Create a front triangle section from your temples to your crown and secure it. Pull the rest of your hair into a low ponytail at the nape. Decide on your shortest guide layer length, and cut straight across. Let your hair down, and you will see the natural layers fall into place. Use the initial guide to softly blend any harsh lines by pointing your scissors upward. This method ensures you keep your gorgeous length underneath while the top layers bounce beautifully around your shoulders.
3. Diy Medium Layered Haircut

Medium hair is incredibly versatile, and adding layers can entirely change its vibe. Tackling a diy medium layered haircut requires a simple approach to avoid chopping off too much length. Start by parting your hair down the middle and bringing it forward over your shoulders. Comb each side smooth. Determine how short you want your face framing layer to be. Hold the front sections between your fingers, and cut upward at a gentle angle. Work your way around the back, taking small sections and pulling them forward to use your front cut as a guide. This creates a seamless, blended layer that removes bulk from the thick middle sections of your hair while maintaining a healthy, full appearance at the bottom.
4. Diy Short Layered Haircut

Short hair thrives on texture, and a diy short layered haircut delivers exactly that. When working with shorter lengths, precision is key to avoiding awkward spiky patches. Start with dry hair so you can see exactly how the layers will fall naturally. Isolate the top crown section. Begin at the back, taking small horizontal sections and lifting them at a forty five degree angle. Snip into the ends using point cutting rather than blunt cuts. Move to the sides, pulling the hair forward and upward to maintain the layered gradient. Finally, address the top, pulling sections straight up and trimming to your desired length. This approach guarantees a lively, piecey texture that makes short hair look effortlessly styled.
5. Diy Face Framing Layers Haircut
Want to highlight your cheekbones and soften your jawline without a full haircut? The diy face framing layers haircut is your best friend. This technique focuses only on the front sections of your hair. Brush your dry hair into its natural part. Take a section from your temples down to your chin, clipping the rest away. Hold the front section taut, and cut upwards in small, careful snips. Start just below your cheekbone for the shortest layer, allowing it to blend into the longer pieces. Never cut straight across, as this creates harsh lines. By angling your scissors upward, you create a beautiful curtain effect that highlights your facial features and seamlessly blends into the rest of your hair.
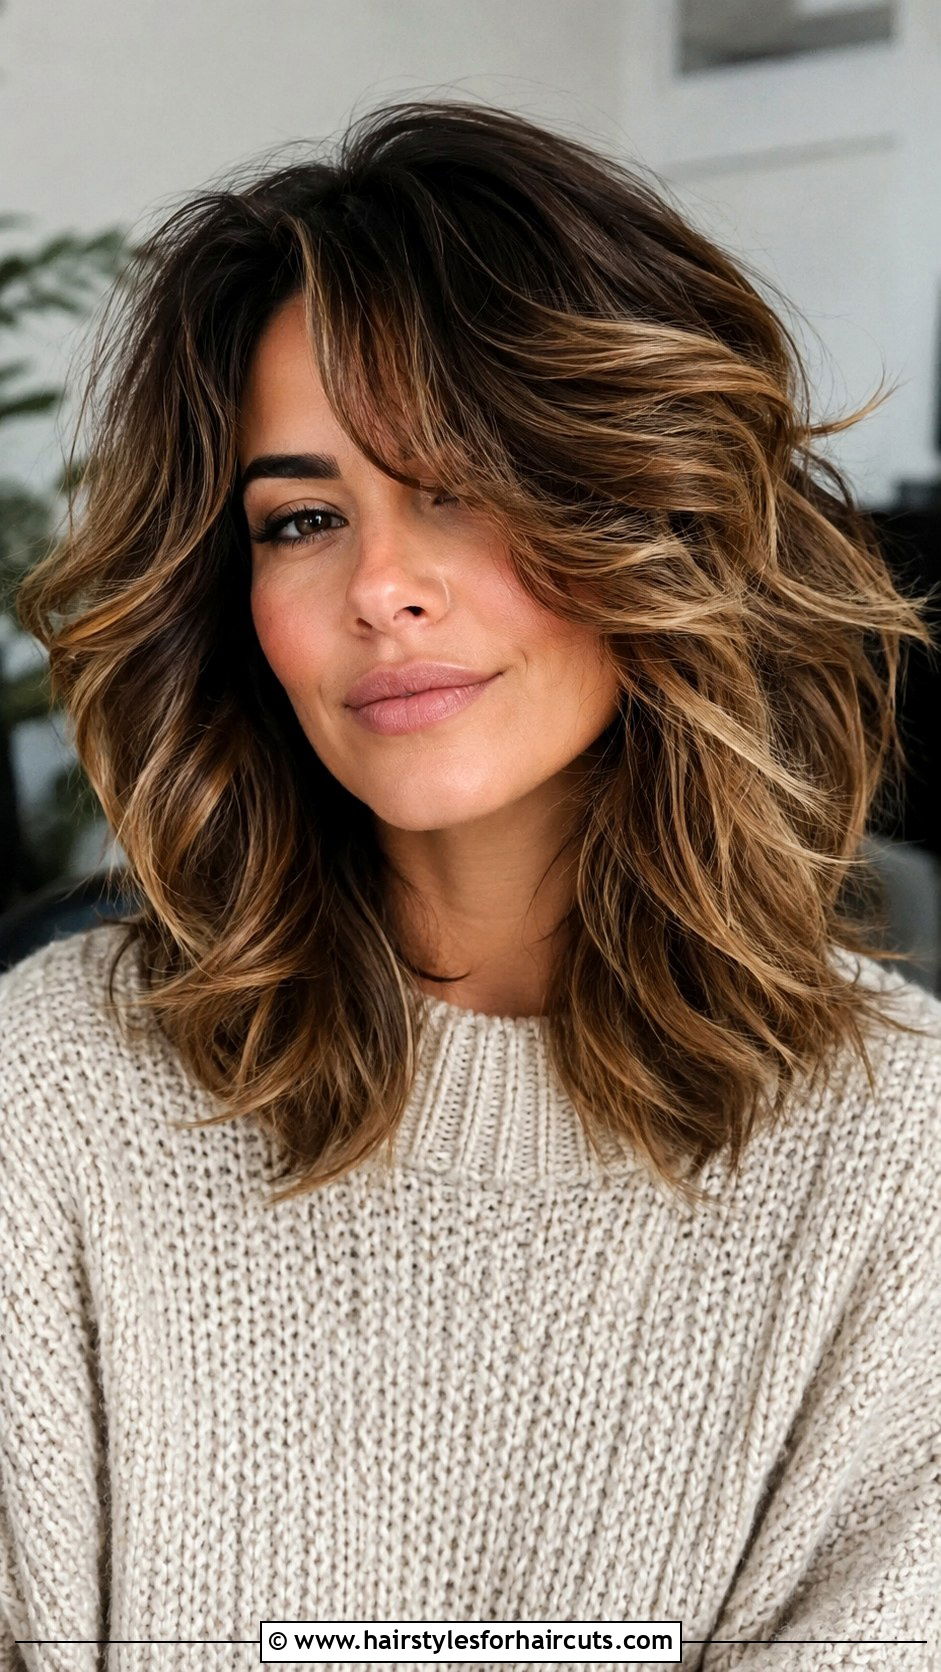
6. Diy Shaggy Layers Haircut

Channel your inner rockstar with a heavily textured, lived in look. The diy shaggy layers haircut relies on extreme texture rather than perfect bluntness. Start by misting your hair until it is damp. Pull the entire top section of your hair forward into a single ponytail at the front of your forehead. Decide how short you want your top layers. Cut straight across the ponytail. When you take the ponytail down, you will see choppy, shaggy layers. Take your thinning shears or regular shears and aggressively point cut into the ends to shatter any blunt lines. Focus on adding lots of texture around the crown and ends. This creates incredible volume and that perfectly messy, effortless rockstar vibe.
7. Diy Layered Pixie Haircut

Keeping a pixie cut maintained between salon visits is easy when you know the tricks. A diy layered pixie haircut focuses on managing the bulk on top and keeping the nape tidy. Start with the sides and back, trimming the hair close to the head using clippers or careful scissor work. Leave the top section longer. To create layers on top, lift small sections of the hair straight up. Pinch the ends, and point cut deeply into the hair. This removes weight and creates movement. Blend the longer top layers into the shorter sides by pulling side sections upward and snipping any harsh transitions. The result is a bouncy, textured pixie that looks fresh and perfectly pieced.
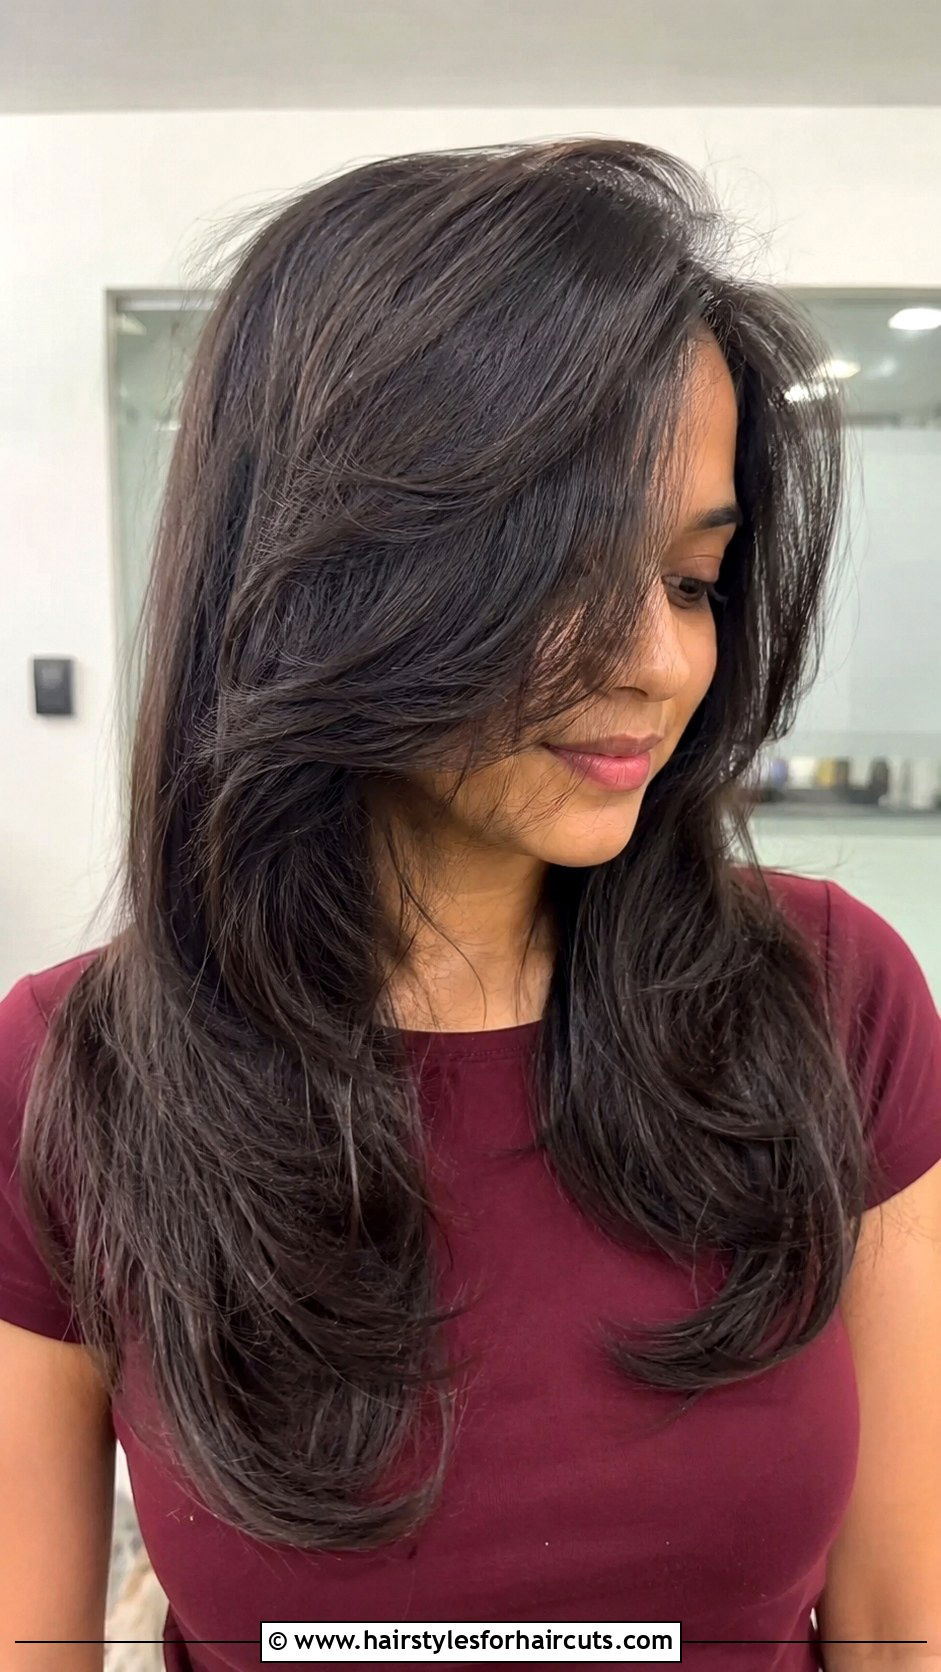
8. Diy V Cut Layers Haircut

Love the look of a dramatic, pointed back? The diy v cut layers haircut gives you that stunning v shape while maintaining length and volume on the sides. Have a friend help, or use three mirrors to see the back of your head. Brush your damp hair straight back. Gather it into a low, centered ponytail at the nape of your neck. Twist the ponytail tightly. Hold the twist firmly, and cut straight across at your desired length. When you untwist the hair, the ends will naturally fall into a sharp v formation. You can refine the point by point cutting the very bottom center. This gives you gorgeous long layers that cascade down your back beautifully.
9. Diy U Cut Layers Haircut

If a sharp v shape feels too dramatic, a softer, rounded edge might be exactly what you need. The diy u cut layers haircut creates a gentle u shape across your back, offering fullness and thickness at the ends. Brush your damp hair straight down your back. Create a center part. Pull the hair into a low ponytail at the nape, but this time, pull it down slightly so the base of the ponytail rests under the occipital bone. Cut straight across the bottom of the ponytail. Release the hair. You will see a perfect, soft u shape. This method removes a minimal amount of length while creating subtle, long layers that preserve the thick, healthy appearance of your bottom line.
10. Diy Feathered Layers Haircut

Transport your style back to the seventies with incredible volume and bounce. The diy feathered layers haircut is all about how the hair curves away from the face. Part your damp hair down the middle. Take a section from the front hairline. Hold your shears parallel to the hair shaft. Instead of cutting straight, slide the scissors down the length of the hair, snipping as you go. This is called slide cutting. It creates soft, wispy ends that flip outward naturally. Work from the front to the back, always pulling the hair forward and sliding down. The result is a gorgeous, feathery texture that gives your hair incredible movement and a retro vibe that never goes out of style.
11. Diy Layered Curly Hair Haircut

Cutting curly hair requires a completely different approach to avoid the dreaded triangle shape. A diy layered curly hair haircut must be done on completely dry hair, styled exactly how you wear it every day. This allows you to see the natural spring of each curl. Take small sections of hair, one curl at a time. Pull the curl down, and cut right above where you want it to bounce up. Work around your head, creating layers that sit beautifully within each other. Always cut less than you think you need, because shrinkage is real. By cutting individual curls at varying lengths, you remove bulk from the bottom and allow your natural curl pattern to stack perfectly.
12. Diy Layered Wolf Cut

The trendy wolf cut is everywhere, and you can achieve it right at home. The diy layered wolf cut combines shaggy top layers with heavily textured lengths. Start by creating a front ponytail with the top section of your hair. Cut this ponytail short to create those wild, short face framing pieces. Next, gather the middle section of your hair into another ponytail and trim it to blend. Finally, take the bottom section and trim the ends lightly. The magic happens when you unpin everything. Take your shears and aggressively point cut into the lengths to create a choppy, disconnected look. Add some curtain bangs to complete this fiercely modern, untamed hairstyle.
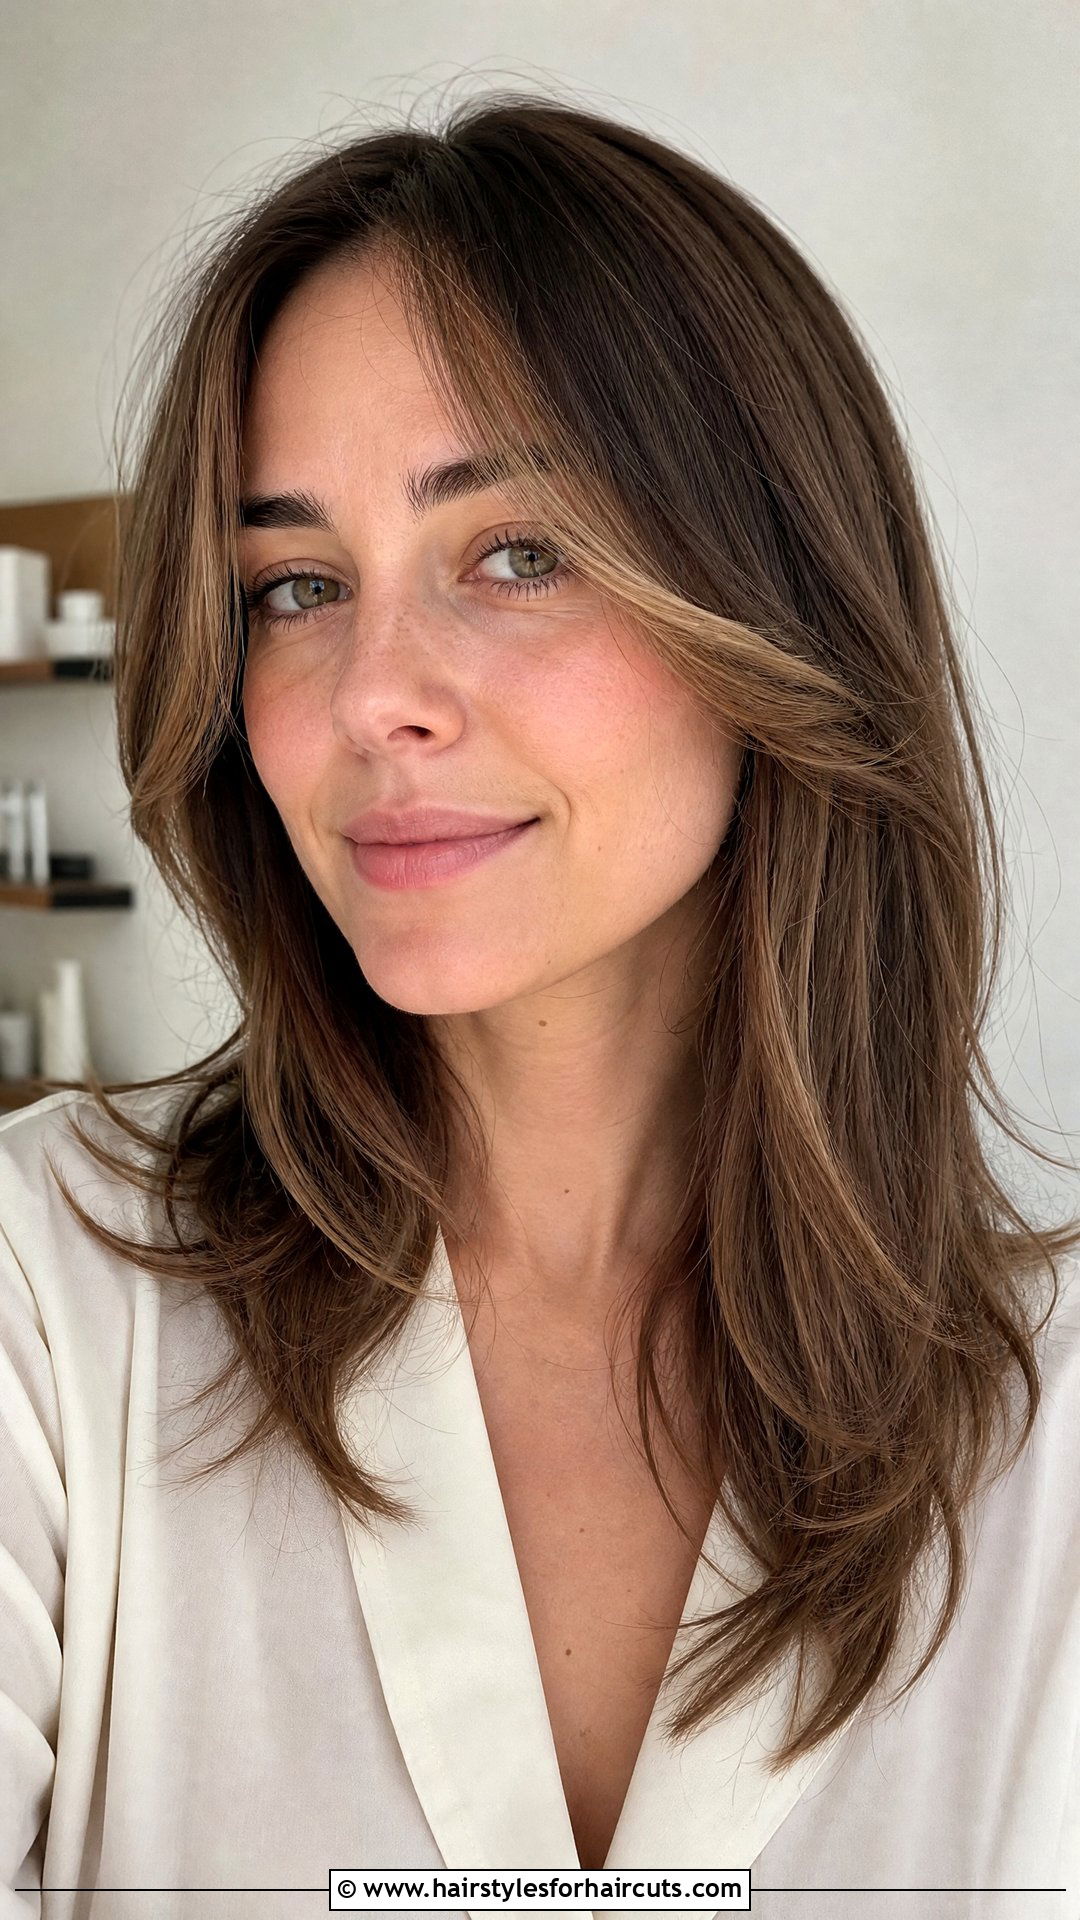
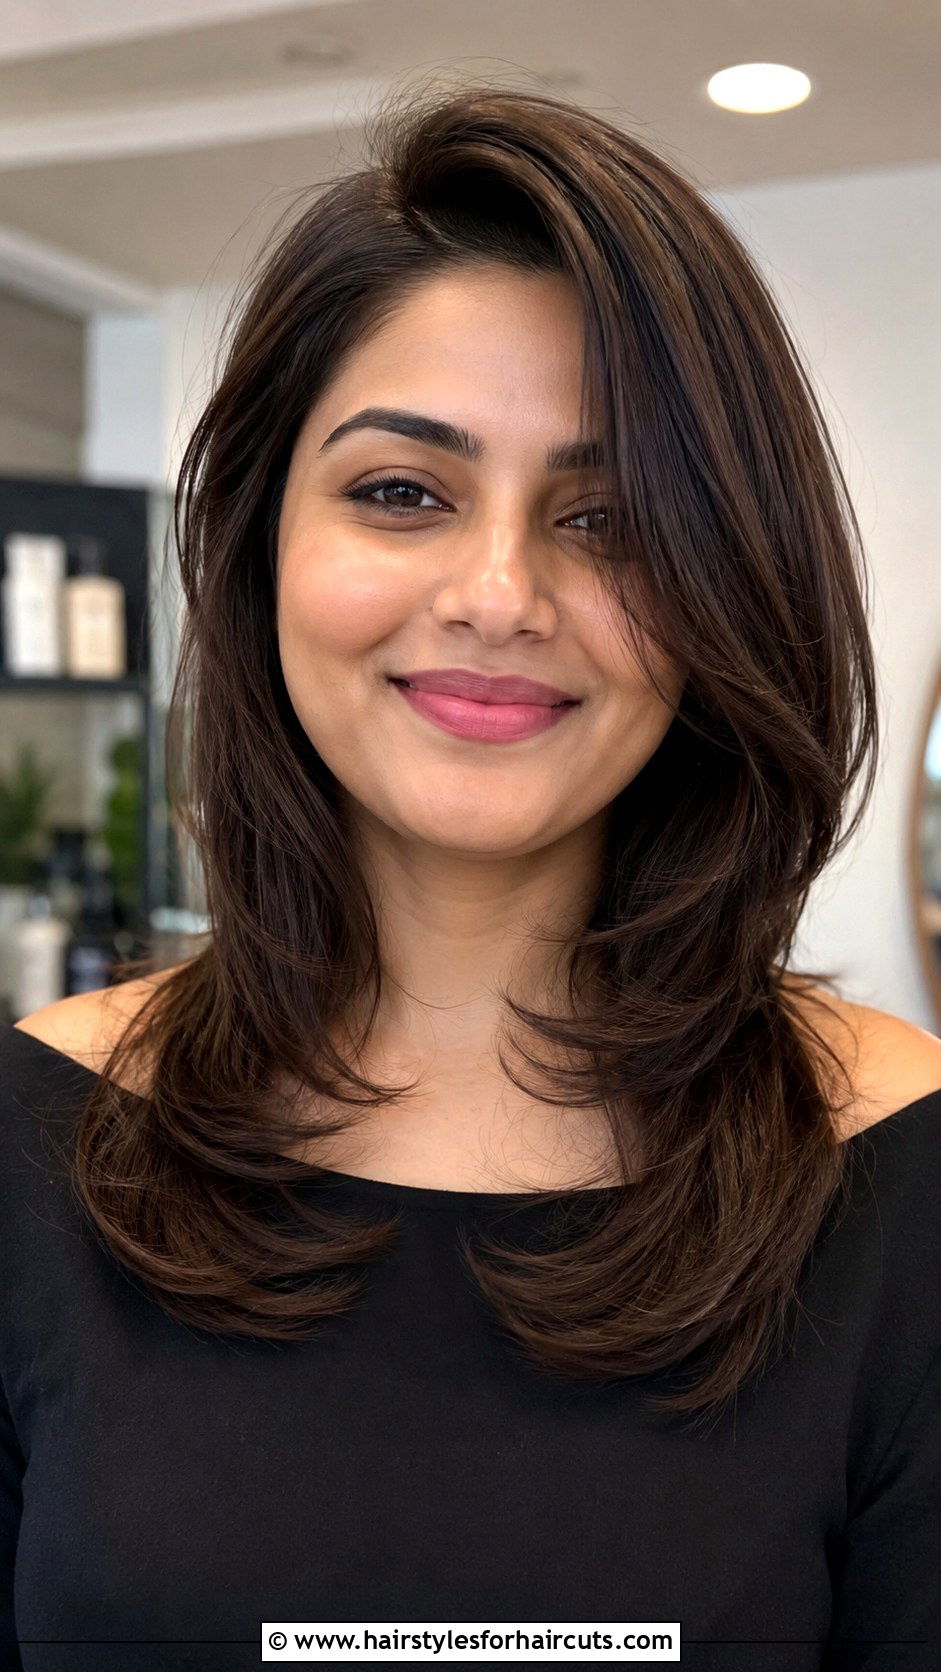
13. Diy Layered Shoulder Length Haircut

Shoulder length hair often falls flat without the right shape. A diy layered shoulder length haircut brings back the bounce and makes styling so much easier. Brush your damp hair forward over your face. Comb it perfectly smooth. Determine exactly where you want your shortest layer to hit, usually right around the nose or cheekbones. Cut a straight line across the front while the hair is pulled down over your face. This serves as your primary guide layer. Next, take sections from the back, pull them forward to meet the front guide, and snip carefully. This technique creates beautiful, cascading layers that blend flawlessly and give your collarbone skimming length the gorgeous volume and swing it desperately needs.
14. Diy Butterfly Layers Haircut

The butterfly cut is the ultimate layering technique for maximum volume. Mastering a diy butterfly layers haircut means creating short, heavy top layers that flutter over longer bottom layers. Pull the entire top section of your hair from your temples to your crown into a high ponytail. Cut this top ponytail to chin length. This becomes your butterfly wing. Leave the bottom section long and untouched. Blend the two sections by taking small pieces from the top and bottom, pinching them together, and point cutting the junction. This creates a dramatic, voluminous silhouette that gives the illusion of thick, bouncy hair. It is the perfect retro modern blend for anyone craving serious height and movement.
15. Diy Layered Lob Haircut

The long bob is a staple, but adding layers takes it from basic to beautiful. A diy layered lob haircut softens the blunt edges and creates a relaxed, beachy vibe. Part your damp hair down the middle. Take the front sections from your hairline to your ear and clip them. Starting at the back, cut your desired baseline length. Then, take down the front sections. Pull them back toward the crown, and cut at an angle, making the front pieces slightly longer than the back. This subtle layering removes weight from the nape and allows the hair to tuck under effortlessly. You get the chic silhouette of a lob with the lived in feel of soft layers.
16. Diy Layered Thin Hair Haircut

When your hair lacks natural density, the wrong layers can make it look stringy. A diy layered thin hair haircut requires a very gentle touch to preserve thickness. Avoid cutting too many layers. Instead, focus purely on face framing pieces to create the illusion of fullness. Take small front sections and cut upward at a steep angle, keeping the layers long. Leave the back one length or add just one subtle layer at the occipital bone. By keeping the bottom edges mostly blunt, you ensure the ends look thick and healthy. The minimal layering around the face opens up your features without sacrificing the precious density you need at the bottom.
17. Diy Layered Thick Hair Haircut
Thick hair can feel heavy and unmanageable without the right shaping. A diy layered thick hair haircut is all about removing bulk while keeping the structure intact. The ponytail method is your best tool here. Flip your head upside down and gather all your hair into a tight, high ponytail at the very top of your forehead. Comb it smooth. Cut straight across the end of the ponytail. Flip your head back up, and you will instantly feel the weight lifted. The top layers will be short and heavily textured, blending into the longer lengths. This aggressive layering technique tames massive volume and gives your thick mane a beautifully sculpted, wearable shape.
18. Diy Layered Wavy Hair Haircut

Wavy hair sits right between straight and curly, meaning it needs special layering to avoid frizz. A diy layered wavy hair haircut should enhance your natural s waves without making them stringy. Work with your hair completely dry and styled. Identify where your waves naturally fall flat. Take small sections where you want more lift, usually around the crown. Hold the section up, and use your scissors to point cut into the ends vertically. This removes just a tiny bit of weight, allowing the wave to bounce up and form correctly. Never use the ponytail method, as it creates uneven layers in wavy textures. Gentle, strategic point cutting gives you a flawless, natural wave.
19. Diy Long Layered Haircut With Ponytail Method

The high ponytail trick is a lifesaver for beginners wanting long layers. A diy long layered haircut with ponytail method ensures you cannot accidentally chop off too much length. Gather your damp hair into a high ponytail right at the front of your hairline. Secure it tightly with an elastic band. Slide a second elastic down to the exact length you want your shortest layer to be. Cut straight across below the second elastic. Remove the elastics, and you will have beautiful, cascading layers. The front pieces will be shortest, gradually lengthening toward the back. This foolproof technique gives you professional looking face framing layers without the stress of freehand cutting, making it incredibly easy to achieve gorgeous results at home.
20. Diy Layered Haircut With Twist Method
For a softer, more organic finish, the twist method is exceptional. A diy layered haircut with twist method creates natural looking layers that lack harsh lines. Take a small section of damp hair at the front of your face. Twist it tightly all the way down. Hold your scissors at a diagonal angle, and snip into the twist at your desired length. The tighter you twist, the more textured the ends will be. Repeat this process across your head, working in small twisted sections. Always cut upwards into the twist rather than straight across. When you unravel the hair, the layers blend seamlessly with soft, feathered ends that look like they grew that way naturally.
21. Diy Layered Haircut With Bun Method
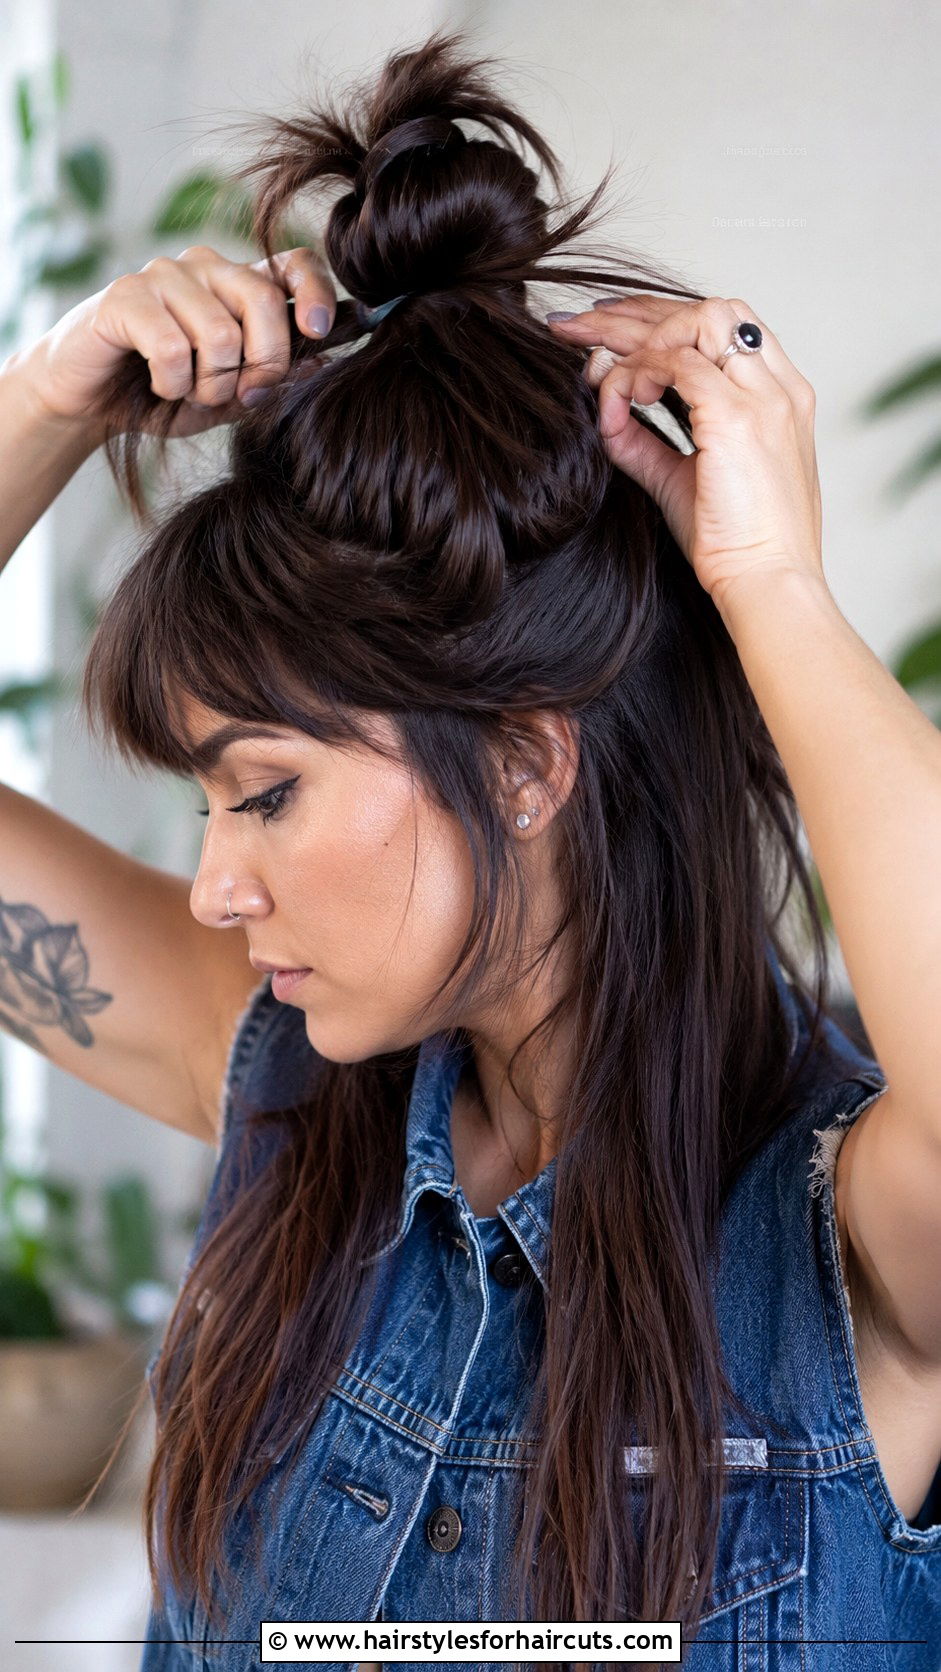
In a rush but need a quick trim? The bun technique is surprisingly effective. A diy layered haircut with bun method works wonders for creating quick, face framing layers. Pull your damp hair into a high, tight bun at the very top of your head. Twist the bun securely, and slide your scissors along the edge of the bun, trimming off the excess ends. Make sure you cut evenly around the entire circumference. When you let your hair down, the top layers will be significantly shorter and heavily textured, while the bottom remains long. It creates a wild, shaggy vibe that is perfect for messy buns and casual, everyday styling with minimal effort required.
22. Diy Layered Haircut For Round Face
The right layers can beautifully elongate a round face shape. A diy layered haircut for round face focuses on creating height at the crown and keeping the sides sleek. Avoid short, wide layers that puff out at the cheeks. Instead, part your hair on the side. Take the top sections of your hair and lift them straight up. Cut into the ends vertically to build volume at the roots without adding width. Leave the layers around your cheekbones long, letting them fall below the chin to create a slimming vertical line. This strategic layering draws the eye up and down, balancing the roundness of your face and giving you a gorgeous, flattering silhouette.
23. Diy Layered Curtain Bangs Haircut

Curtain bangs are the ultimate face framing element, and they are just layered pieces. A diy layered curtain bangs haircut isolates the very front of your hair. Part your hair down the middle. Isolate a triangle section from your hairline to your crown, about two inches wide on each side. Clip the rest of your hair away. Wet the front section, and comb it straight down over your forehead. Pinch the center of the section, and cut straight across at your nose length. Take your shears, and point cut deeply into the center and up the sides. When you part it, the bangs will sweep beautifully outward, framing your face perfectly.
24. Diy Soft Layers Haircut
Sometimes you want dimension without an obvious, choppy step in your hair. A diy soft layers haircut relies on slide cutting to create a seamless transition. Brush your dry hair smooth. Take a small section of hair and hold it away from your head at a low angle. Instead of opening and closing the scissors completely, keep them slightly open and glide them down the hair shaft toward the ends. This shaves off tiny amounts of hair gradually, creating a soft, tapering effect. Work around your entire head, focusing on the bottom third of your hair. This gentle technique removes just enough weight to add movement while keeping the overall length looking thick and solid.
25. Diy Choppy Layers Haircut

For an edgy, textured look, you want distinct, separated pieces rather than soft blending. A diy choppy layers haircut is all about aggressive snips and avoiding uniformity. Pull your hair into a standard high ponytail at the front of your head. Cut the ponytail off at chin level. Once you take the hair down, you will have extreme layers. Take random small sections throughout your hair, pull them out, and cut straight across at different lengths. This creates severe, choppy texture. Use texturizing shears on the ends to further shatter the cut. The result is a bold, highly stylized look that screams attitude and makes styling incredibly easy with a bit of wax.
Conclusion:
Taking the plunge to cut your own hair is incredibly empowering. With these 25 diy layer haircuts, you have an arsenal of techniques to transform your hair at home. Whether you prefer the soft blend of slide cutting, the dramatic effect of the ponytail method, or the precise curl by curl approach, there is a strategy for every hair type and skill level. Remember to always start with sharp shears, take your time, and cut less than you think you need. You can always snip more, but you cannot put hair back. Practice makes perfect, and soon you will be refreshing your layers like a seasoned pro, saving money and rocking gorgeous, salon quality hair every single day.
Leave a Reply