
Have you ever struggled with capturing the perfect flow and texture of hair in your artwork? Mastering the art of 25 hairstyles drawing can completely transform your portrait sketches and character designs. Hair is often one of the most challenging elements to render, but understanding how to approach different cuts, lengths, and textures makes the process incredibly rewarding. Whether you are sketching a sleek bob or illustrating voluminous curls, each style has its own unique rhythm and structure. In this comprehensive guide, we will explore a variety of stunning hair looks, breaking down exactly how to approach drawing them while highlighting the key features that make each hairstyle stand out beautifully on paper.

1. Pixie Cut Drawing

Have you ever wondered how to capture the edgy charm of a short crop in your sketchbook? When tackling a pixie cut drawing, the key is to focus on the direction of the hair growth and the underlying skull shape. Start by mapping out the cranial volume before adding any strands. This short layered look features tapered sides and slightly longer pieces on top that sweep across the forehead. Use short confident strokes to indicate the textured layers, making sure to leave highlights where the light naturally hits the crown. Keep the lines dynamic and overlapping to reflect the fluffy and piecey nature of this iconic, bold, and beautiful short haircut.
2. Bob Haircut Drawing

What makes the classic jaw-length cut such a staple in fashion illustration? When approaching a bob haircut drawing, precision is your best friend. This timeless look hinges on a clean, blunt line that typically grazes the jawline, creating a striking frame for the face. Begin by establishing the sharp perimeter of the cut, ensuring the bottom edge looks crisp and deliberate. The volume should curve gently under, which you can achieve by shading the lower half to create a subtle tuck. Add a few strategic flyaways near the ears and nape to keep the sketch looking realistic and lived-in rather than stiff or completely unnatural and rigid in your artwork.
3. Long Straight Hair Drawing
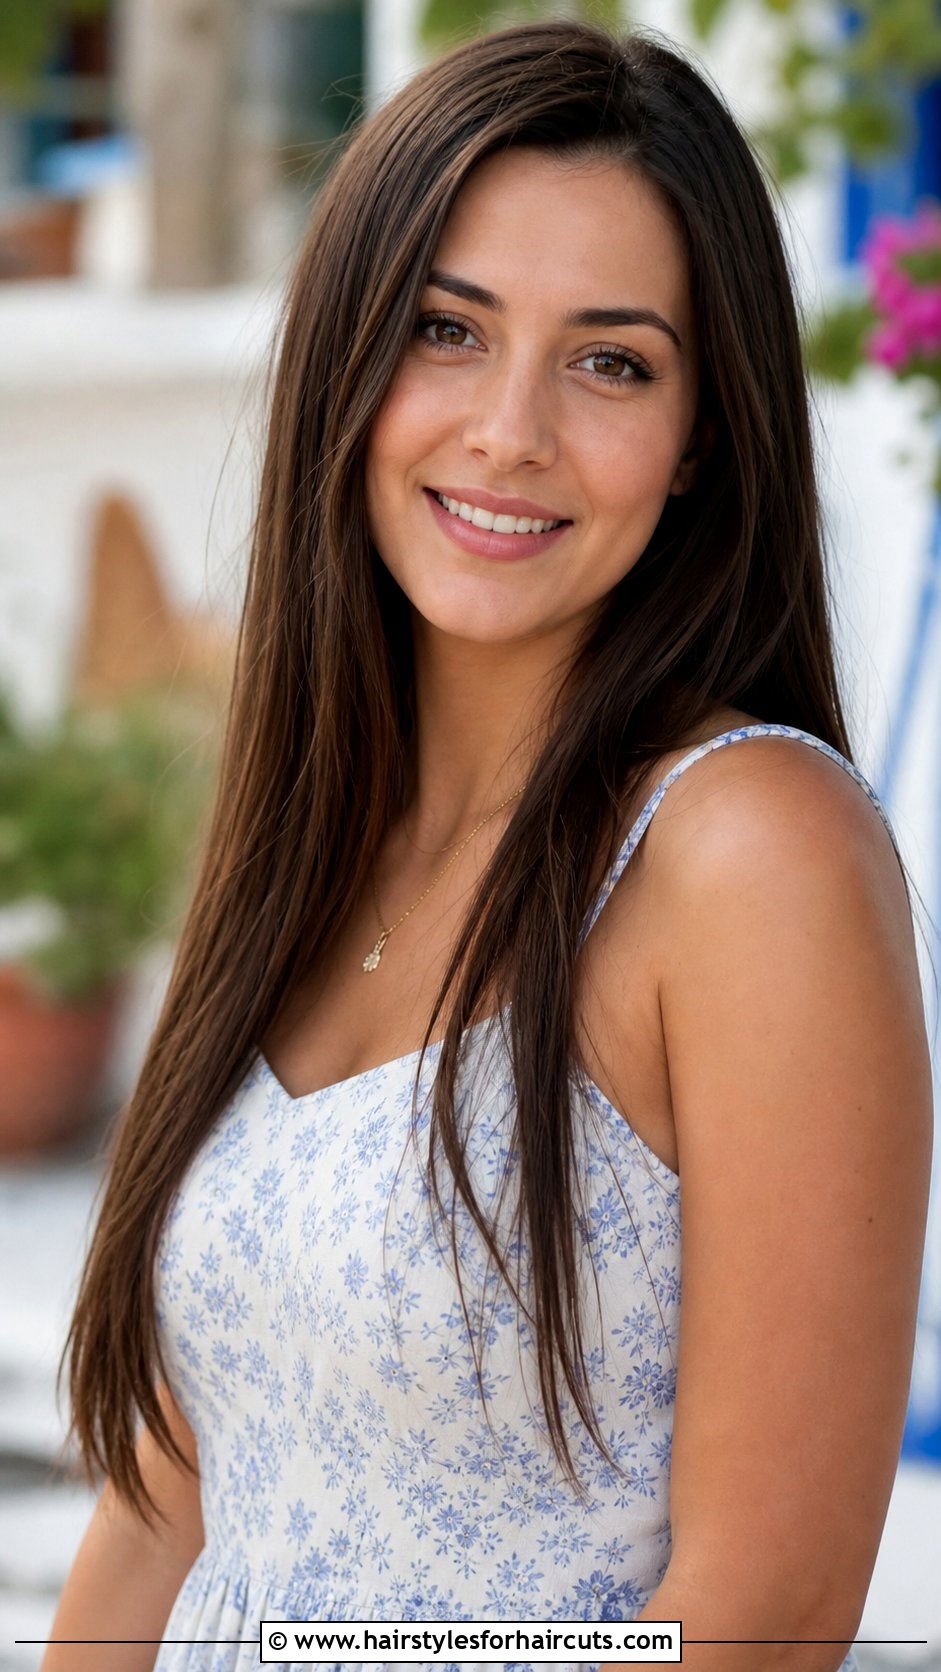
Have you ever found yourself overwhelmed by the sheer number of strands in a flowing mane? Creating a long straight hair drawing requires a thoughtful approach to avoid a flat, lifeless result. The secret lies in grouping the hair into large ribbon-like sections rather than drawing every single strand. Focus on the weight of the hair as it falls smoothly past the shoulders, using long sweeping lines that taper slightly at the ends. Introduce subtle curves to suggest movement and wind, and always shade underneath the layers to give the illusion of thickness and depth. Leave the paper white along the crown for a natural and brilliant glossy shine today.
4. Wavy Hair Illustration

Can you capture the relaxed rhythm of ocean waves on paper? Tackling a wavy hair illustration means paying close attention to the S-shaped curves that define this breezy look. Unlike tight curls, these soft waves have a gentler transition that requires smooth, flowing pencil work. Start by drawing the overall outline, mapping out the peaks and valleys of the waves as they cascade down the shoulders. Use a chisel-tip pencil to shade in the shadowed areas within the troughs of the waves, leaving the crest areas bright. This contrast between the deep valleys and highlighted peaks brings the flowing, beachy texture to life beautifully and completely in your sketch today.
5. Curly Hair Drawing
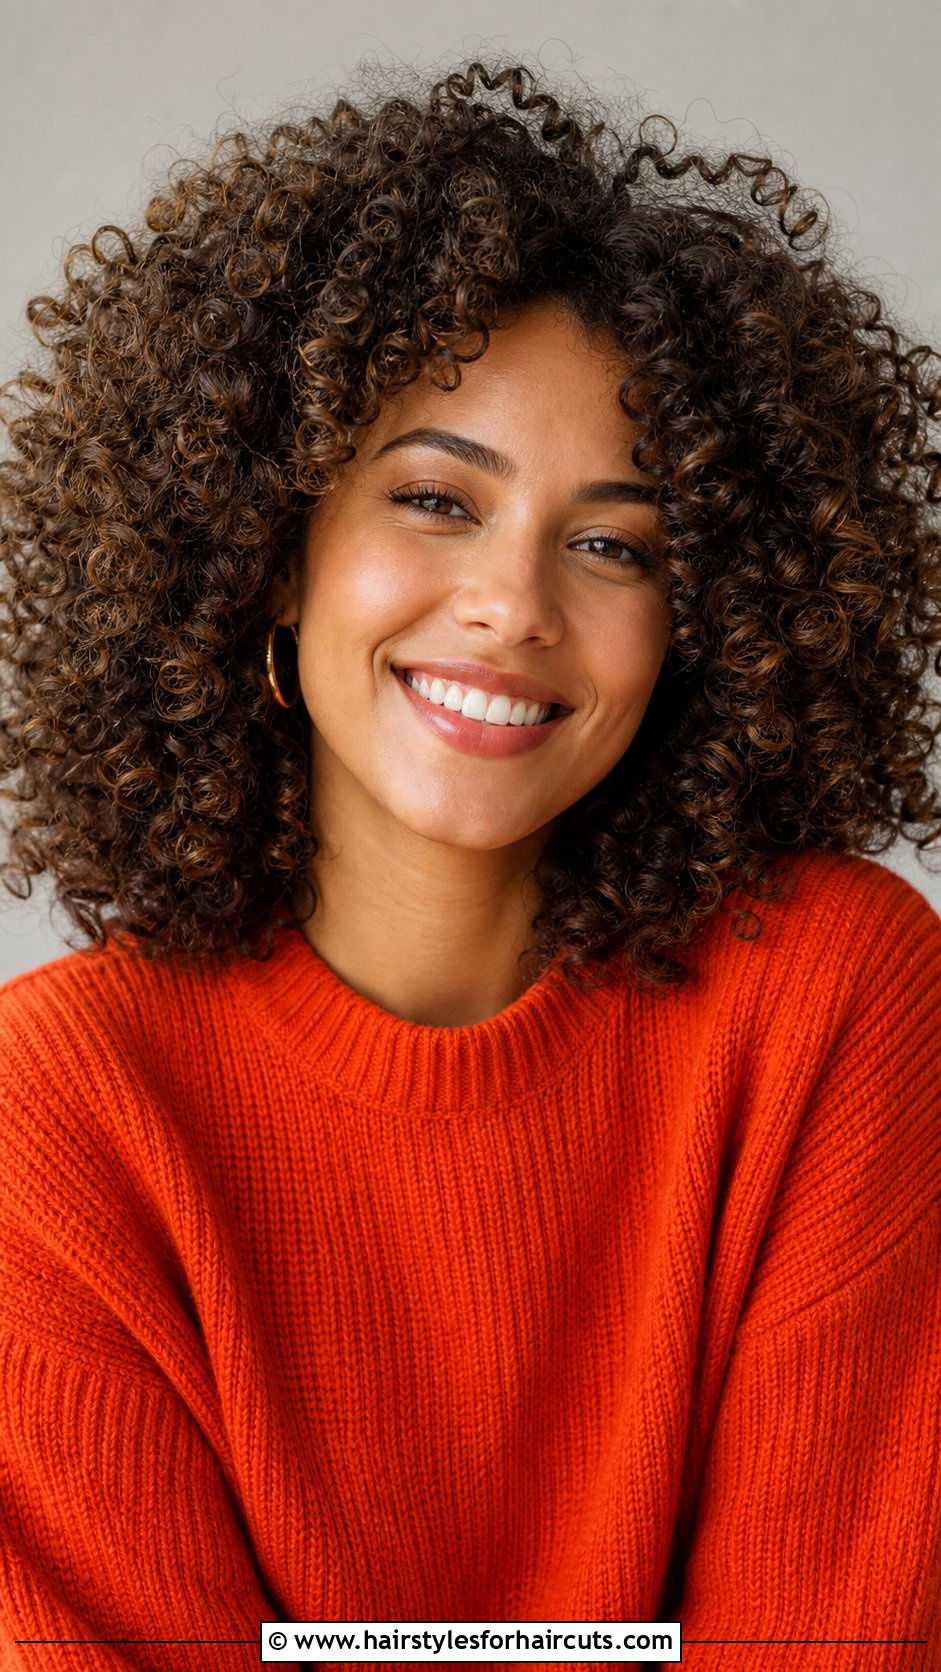
How do you translate the boundless energy of coils onto a flat surface? Approaching a curly hair drawing is all about understanding volume and negative space. Instead of getting lost in individual ringlets, focus on the large cloud-like shape that the curls create around the head. Sketch the outer silhouette first, then carve into it by drawing corkscrew shapes that vary in size and direction. Remember that curly hair has a lot of shadow at the roots and under the bulk of the hair, so push your darker values there. Leave the outer edges and the tops of the curls light to emphasize their bouncy, springy texture perfectly and clearly today.
6. Layered Haircut Drawing
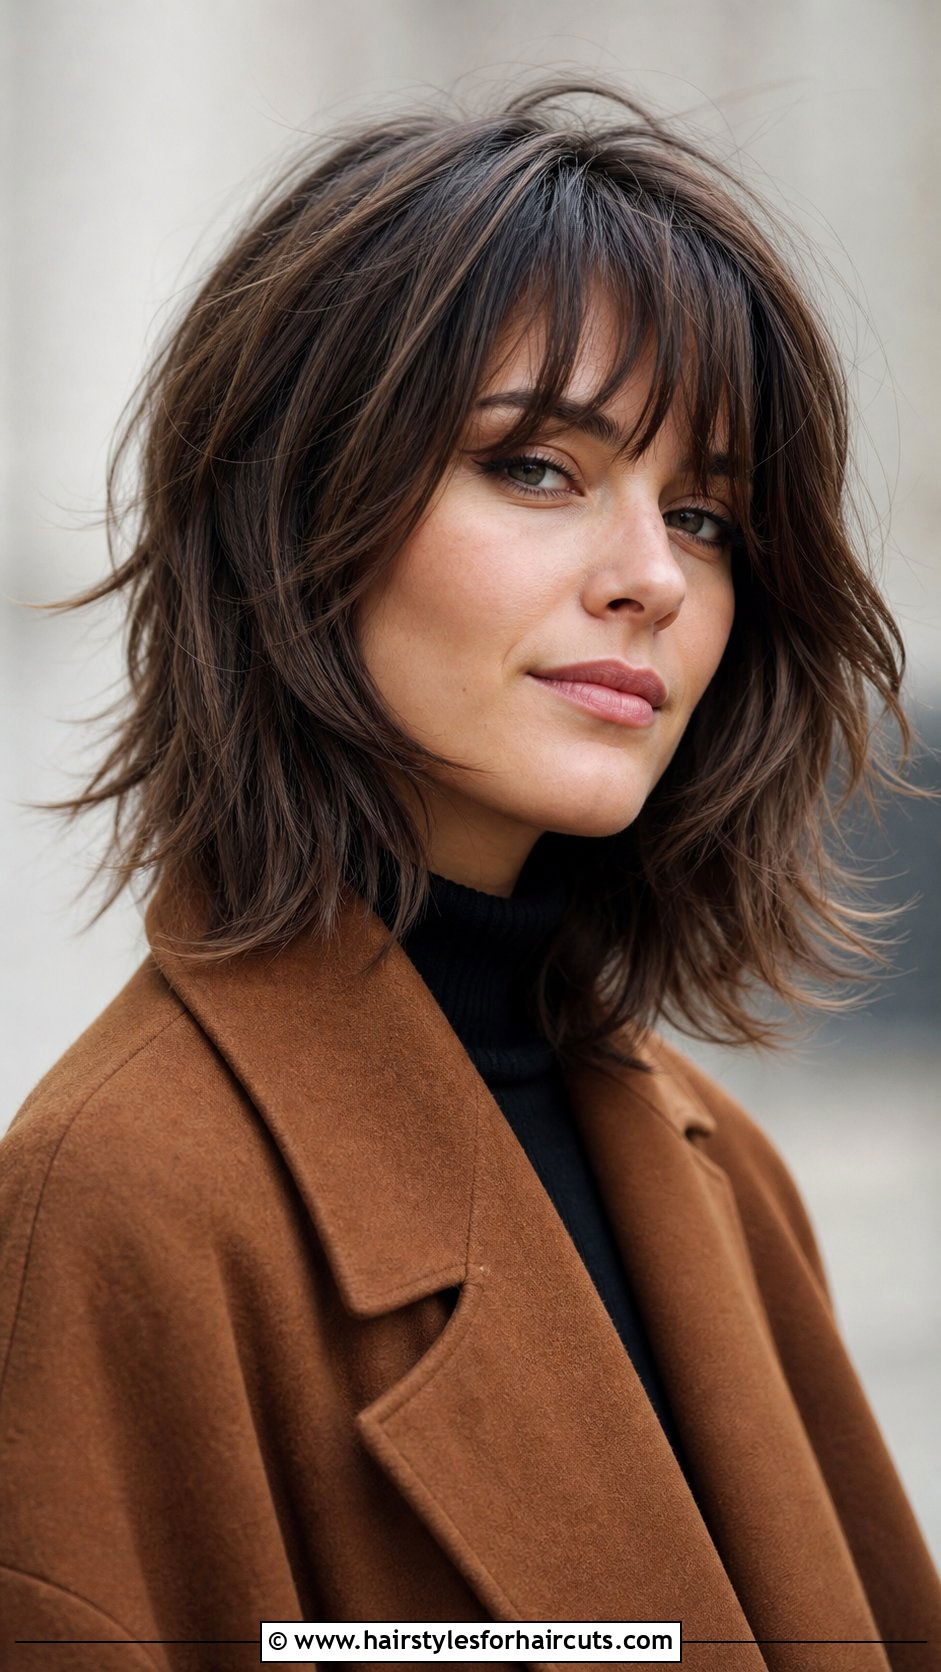
What is the best way to show dimension and movement in a multi-length cut? When creating a layered haircut drawing, your primary goal is to visually separate the different tiers of hair. Layers add incredible mobility, so you need to show strands going in slightly varied directions. Begin by sketching the longest baseline of the hair, then work your way up by adding shorter overlapping sections that frame the face. Use varying line weights to separate the top layers from the underneath layers, making the top lines slightly bolder. Add some wispy ends to the shorter layers to convey the feathered, lightweight feeling that defines this dynamic and beautiful style effortlessly.
7. French Braid Drawing
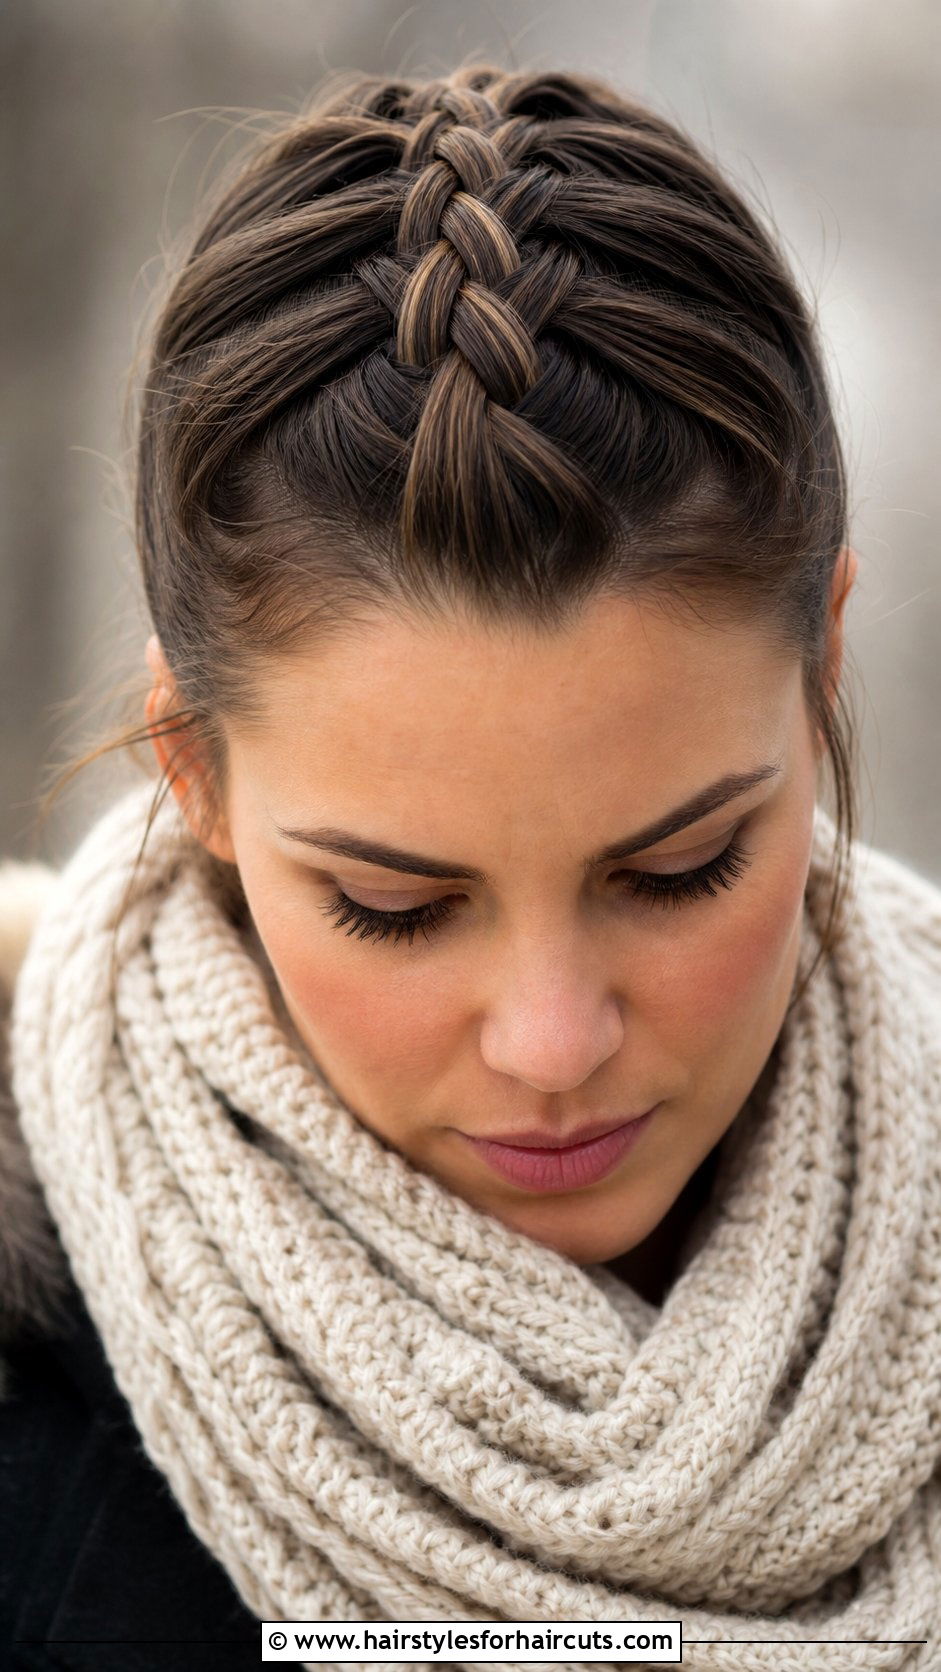
Have you ever struggled to make woven strands look like they are actually crossing over each other? Mastering a French braid drawing comes down to understanding the logic of overlapping shapes. This style is built by gradually adding sections of hair from the sides into a central plait that sits closely against the scalp. Start by mapping out the curved line of the braid from the crown to the nape. Draw a series of alternating leaf-shaped sections, making sure each new strand visibly tucks under the previous one. Deepen the shadows at the intersection points where the hair crosses, which instantly creates a realistic three-dimensional woven effect on your canvas beautifully.
8. Messy Bun Sketch
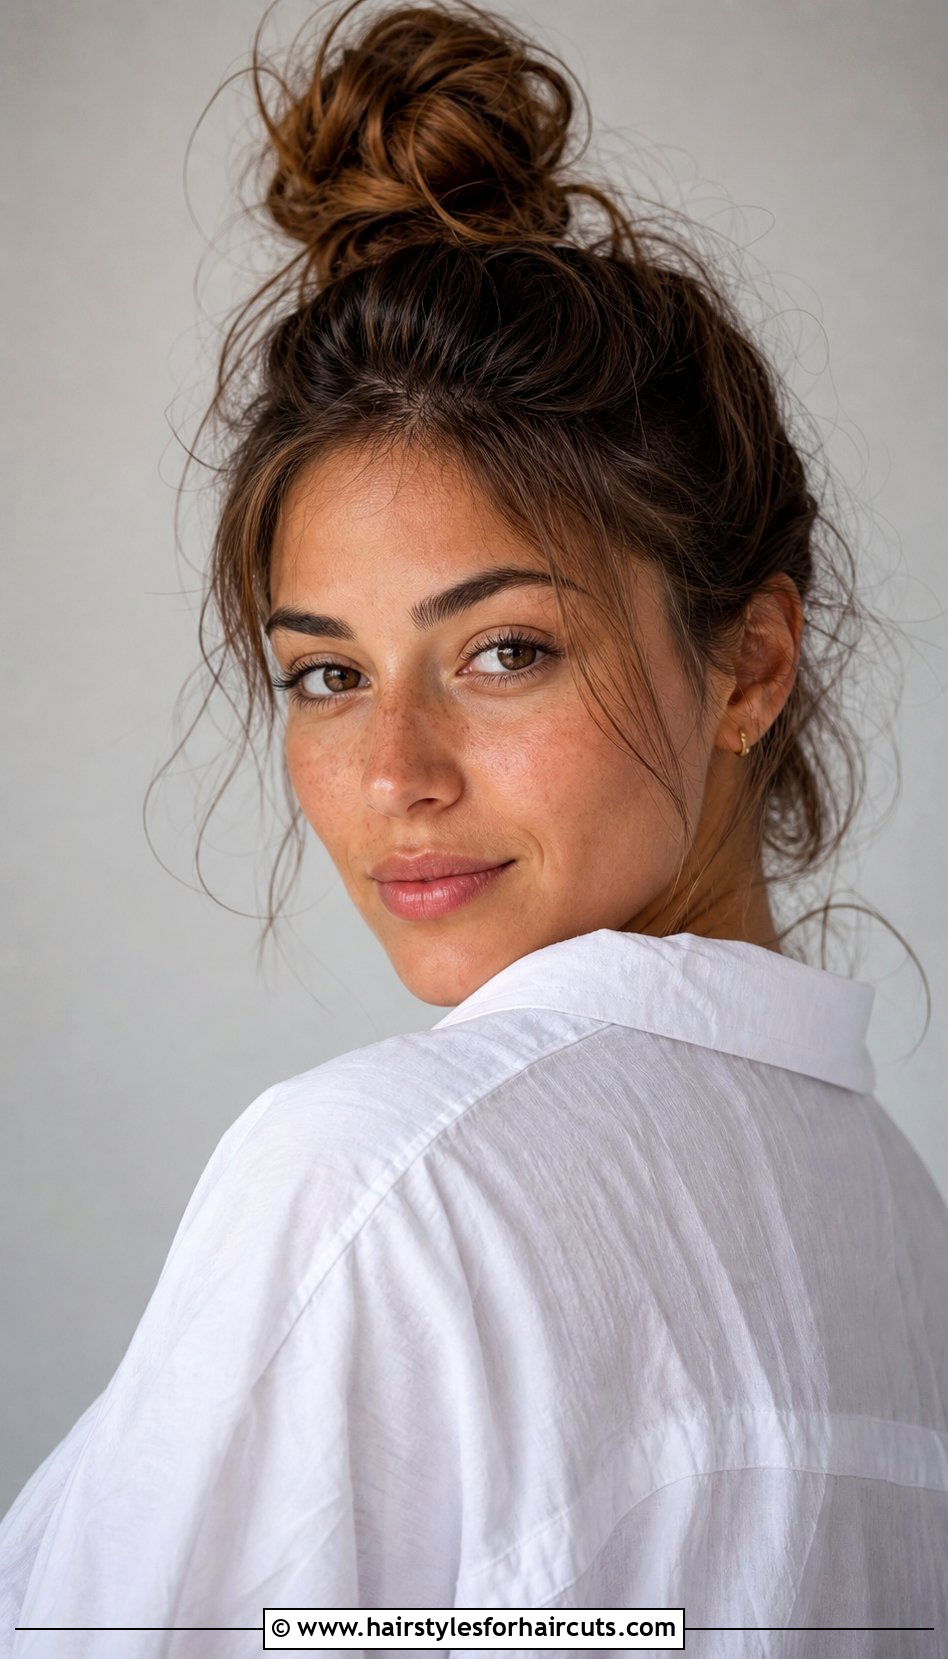
How can a style so effortlessly chaotic be so incredibly tricky to sketch? Creating a messy bun sketch requires a delicate balance between structured volume and intentional disorder. The key is to avoid making the loops of hair look too perfect or symmetrical. Start by drawing a loose, rounded shape at the back of the head, then add random swirls and overlapping loops that escape the main knot. Sketch several wispies and flyaways around the forehead and ears to capture that relaxed, just-thrown-up vibe. The shading should be soft and blended in the center of the bun, with slightly sharper edges on the stray strands to make them pop out clearly.
9. Ponytail Drawing
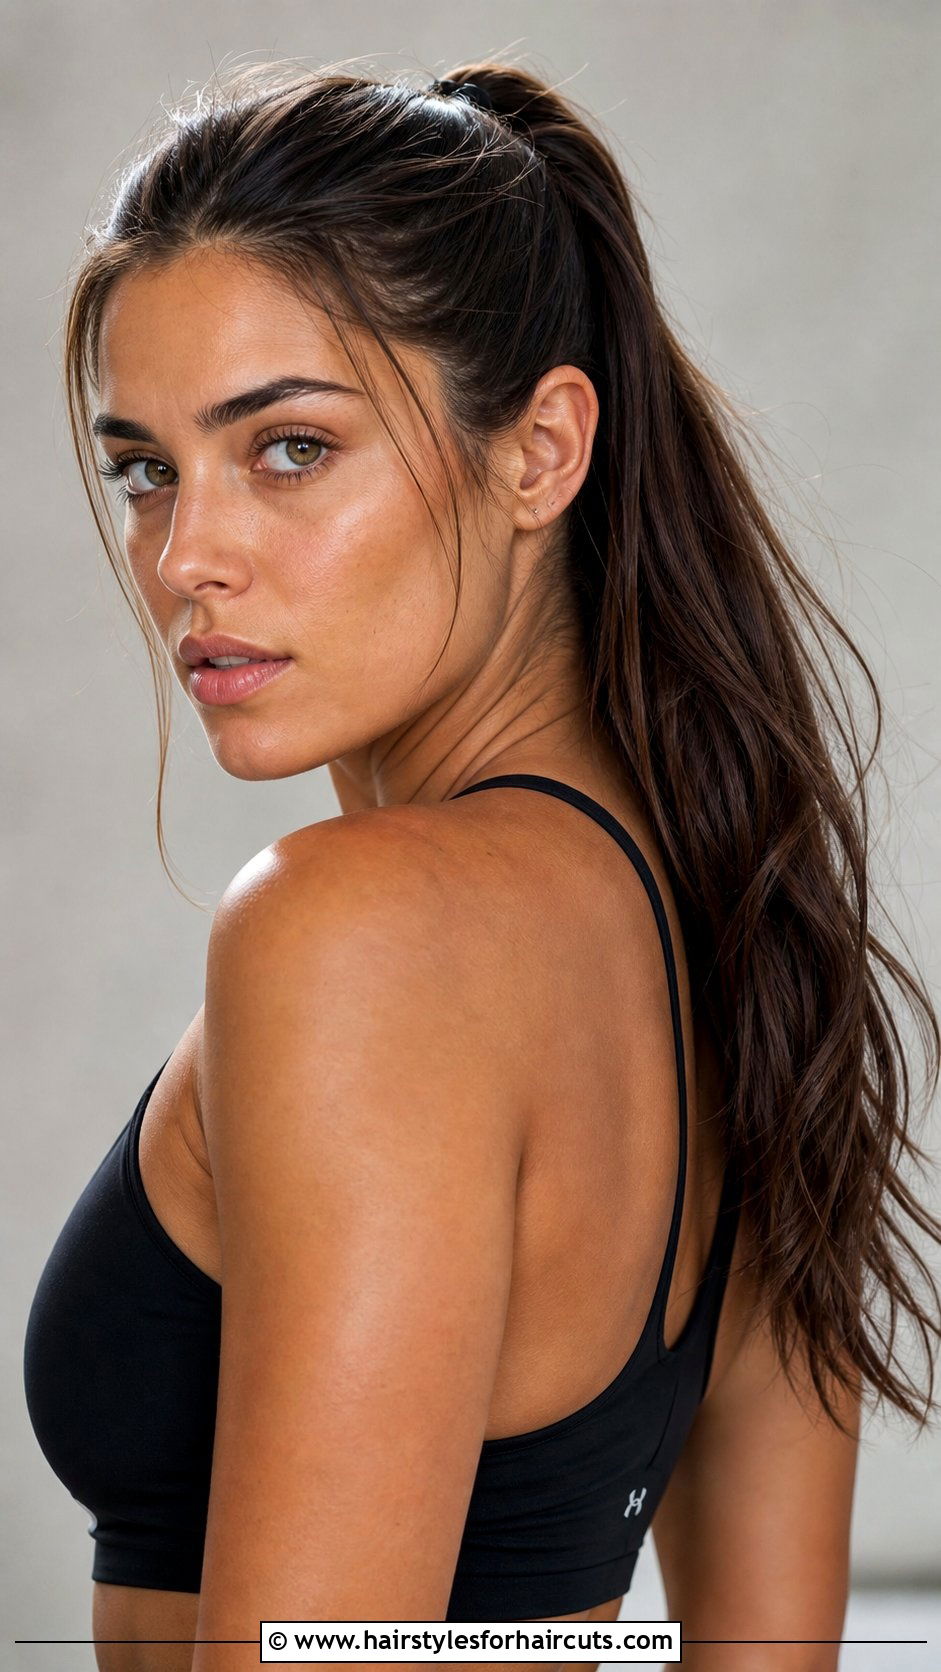
What is the trick to making a pulled-back style look dynamic instead of flat? When you are working on a ponytail drawing, the point of tension is the most critical element. Whether it sits high or low, all the hair converges toward the hair tie, creating a fan-like spread of strands. Start by establishing the direction of the pull, ensuring the hair on the scalp appears smooth and taut as it leads back. From the tie, let the hair burst forth with a slight curve, using long flowing lines to indicate the swish of the tail. Add a few loose pieces around the temples to soften the look and make the drawing realistic.
10. Fishtail Braid Drawing

Can you capture the intricate, woven look of a two-strand plait? Approaching a fishtail braid drawing involves understanding how small sections cross over each other to form a beautifully complex pattern. Unlike a traditional three-strand braid, this look uses two main sections with tiny pieces taken from the outer edges and crossed to the opposite side. Start by drawing the two main sections, then add small, overlapping diagonal lines moving toward the center. The braid should appear narrower and more tapered as it reaches the ends. Deepen the shadows where the small pieces cross over to emphasize the tightly woven and textured appearance of this stunning and elegant style effortlessly.
11. Updo Hairstyle Drawing

Have you ever wondered how to render the elegant sophistication of a formal twist? When approaching an updo hairstyle drawing, focusing on the structural foundation is essential. This look typically involves hair being swept up and secured at the back or crown, creating a beautiful height and silhouette. Begin by sketching the main mass of the twist or roll, ensuring the shape looks full and voluminous. Then, add the directional lines that show how the hair wraps and tucks into itself. Soften the overall shape by adding delicate tendrils that escape the main structure, giving the classic and refined updo a touch of romantic and breathy movement and grace today.
12. Side Part Bob Drawing
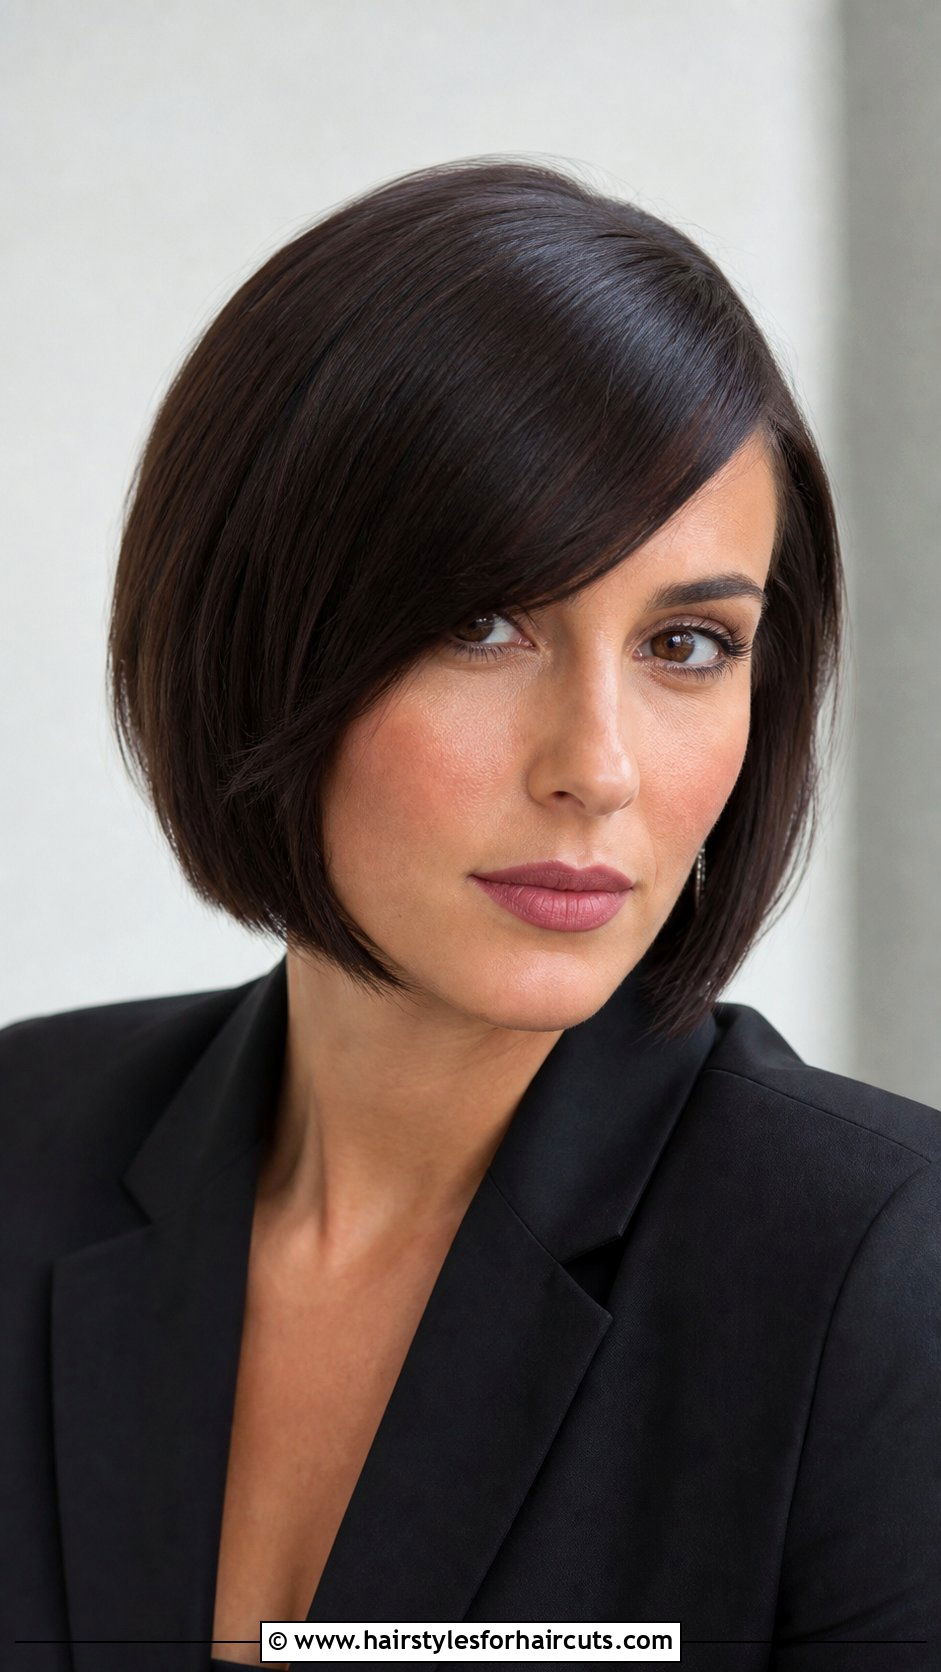
What makes the deep sweep of a side part so visually striking on a short cut? Tackling a side part bob drawing requires careful attention to the asymmetrical weight distribution that defines the look. The hair sweeps heavily to one side, covering one eye slightly while tucking neatly behind the opposite ear. Begin by mapping out the deep parting line, then sketch the heavy fringe sweeping across the forehead. The hair should appear sleek and smooth as it hugs the skull, creating a polished silhouette. Use long, confident strokes for the sweeping top section and add a subtle shadow beneath the heavy side to give the classic bob realistic depth easily.
13. Shag Haircut Drawing
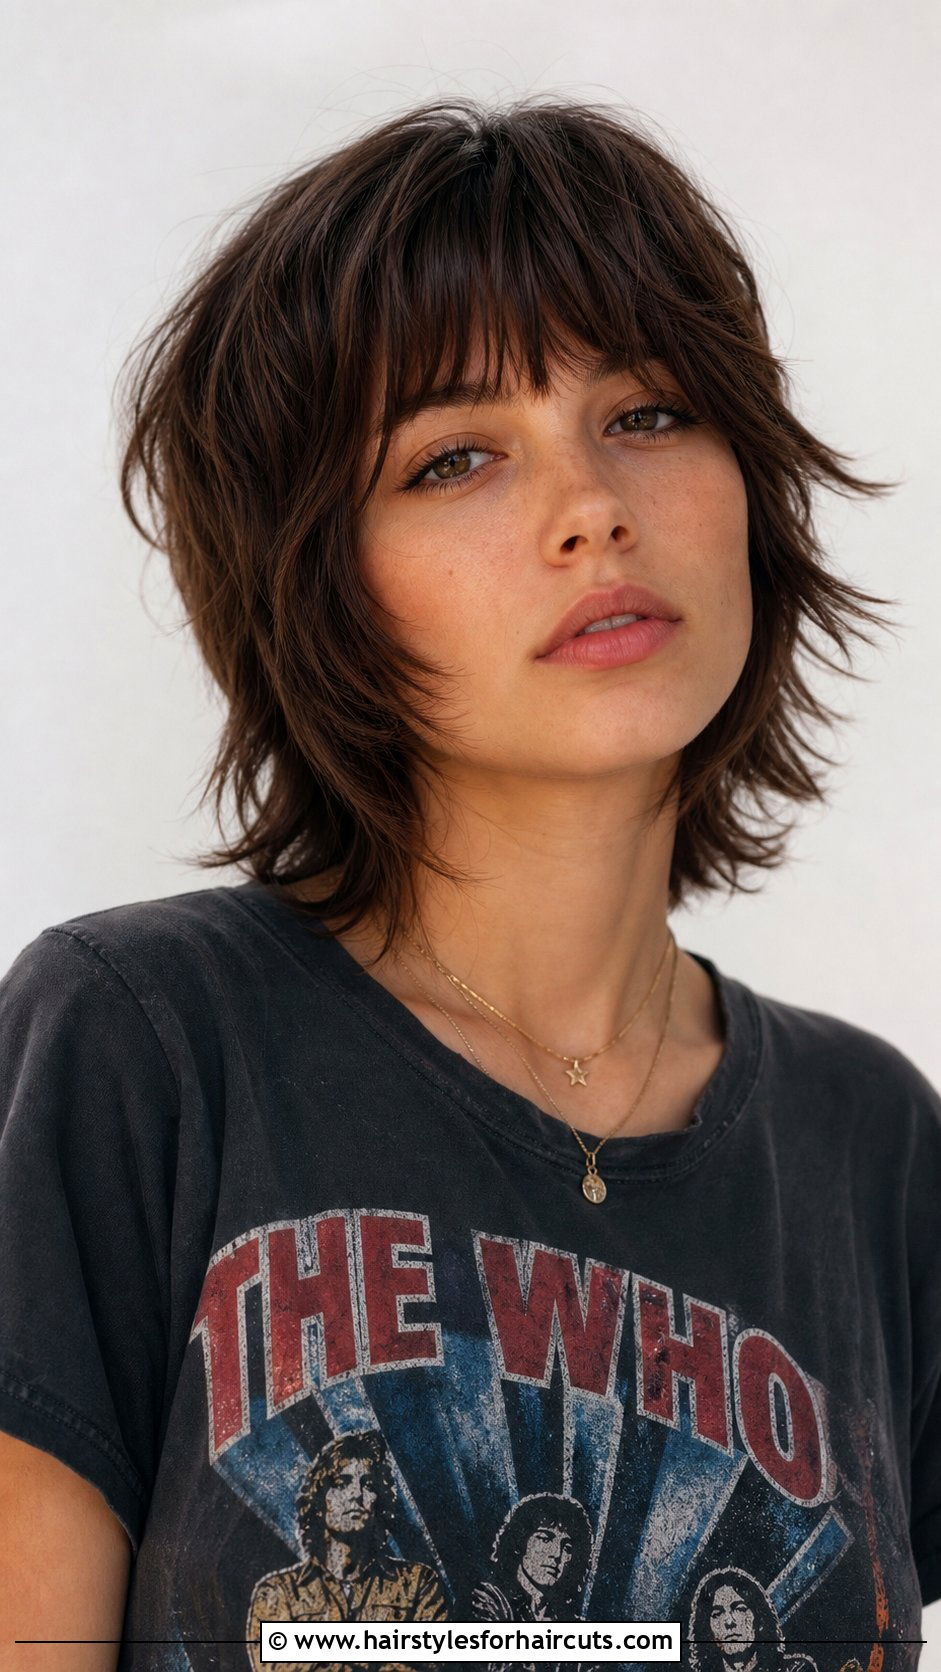
Can you capture the rock-and-roll vibe of a heavily layered cut? When you are creating a shag haircut drawing, the focus should be on excessive texture and choppy ends. This style is all about movement, featuring short layers at the crown that gradually lengthen, surrounded by heavily thinned-out ends. Begin by sketching the voluminous top, then work your way down using jagged, erratic lines to represent the shattered perimeters. Avoid clean, continuous lines at the bottom; instead, use feathered strokes to indicate the piece-y separation. The shag should look like it has plenty of natural volume and lived-in attitude, so keep your pencil strokes loose and expressive throughout the entire sketch perfectly.
14. Afro Hair Drawing
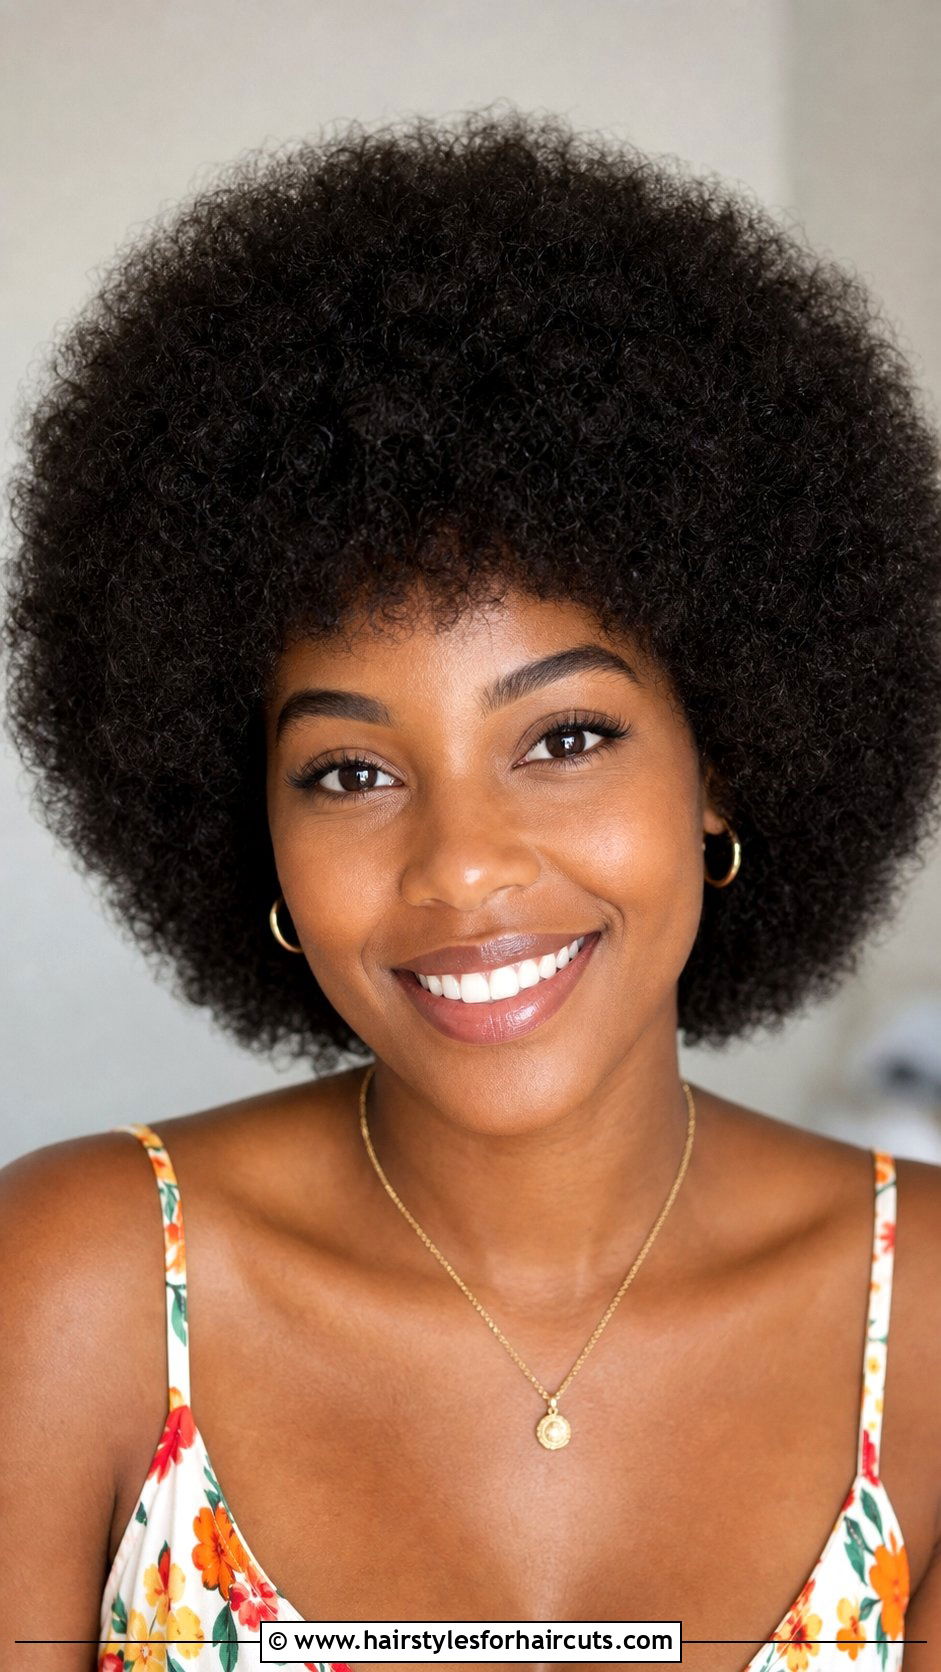
How do you convey the majestic volume and tight coils of a natural halo? Approaching an afro hair drawing requires a shift in how you think about edges and outline. This stunning style forms a beautiful, rounded shape around the head, characterized by dense, tightly coiled texture. Instead of drawing individual hairs, focus on creating a fluffy, textured perimeter using a series of small, bumpy circles. Fill in the mass with tight, random squiggles to represent the coiled texture, pushing the shadows deep near the scalp and leaving the outer edges bright. The goal is to make the drawing feel incredibly soft yet structurally sound, celebrating the glorious and striking shape today.
15. Dreadlocks Drawing
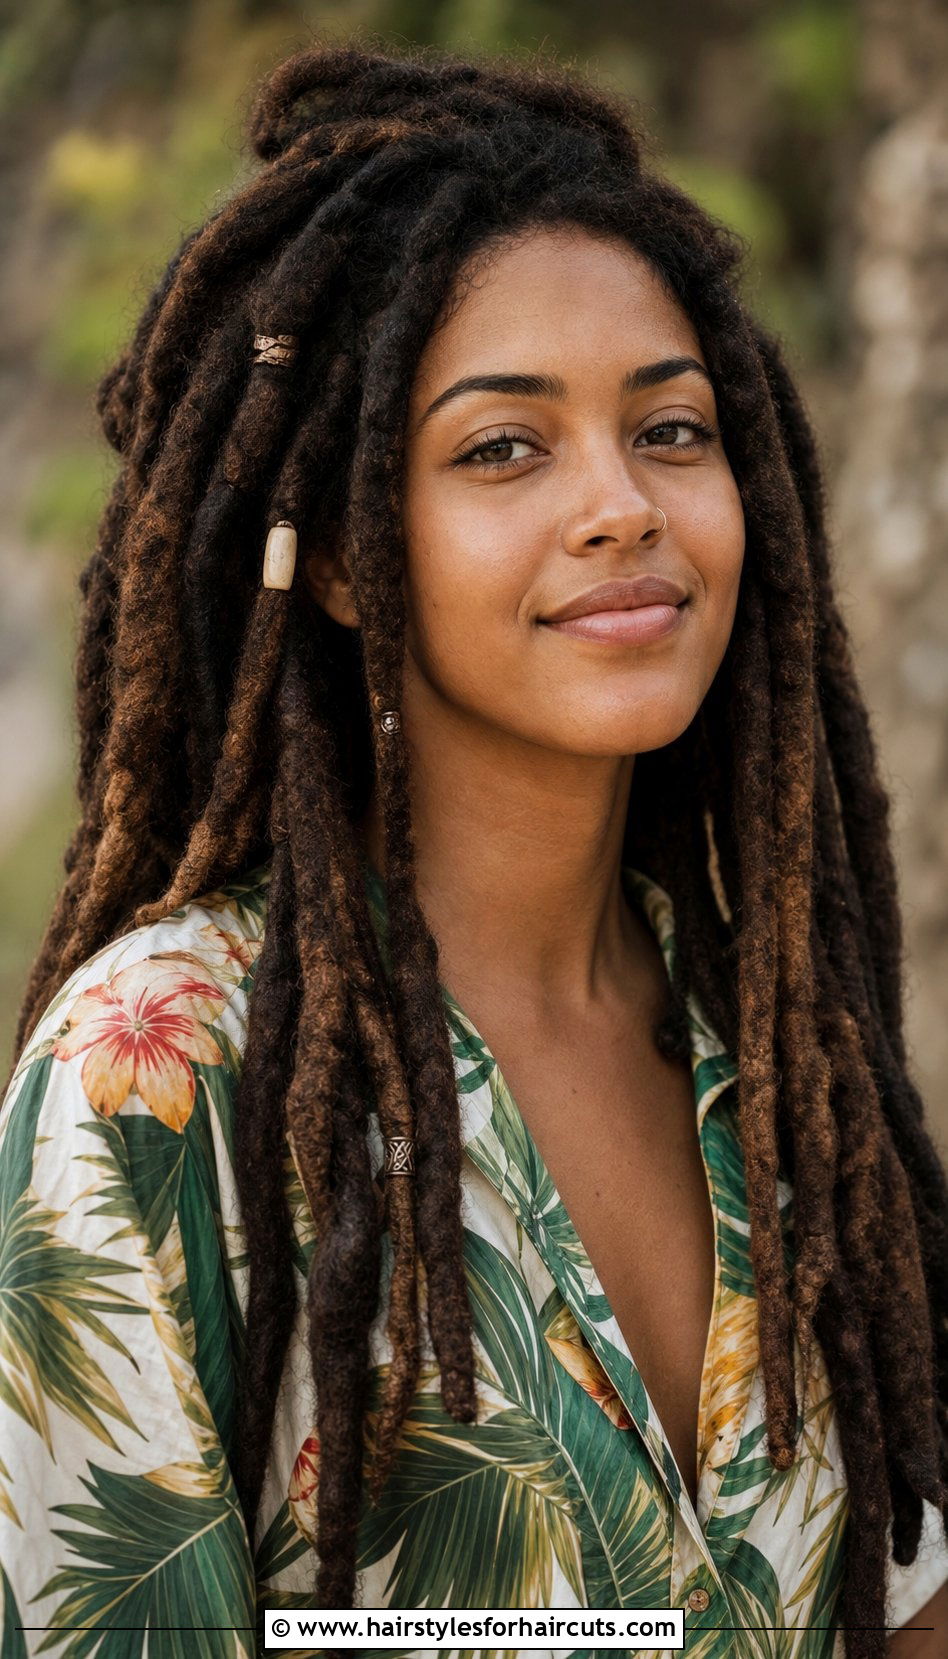
What is the best technique to illustrate thick, roped sections of locked hair? Mastering a dreadlocks drawing involves understanding how hair locks into cylindrical, rope-like formations over time. This style features distinct, segmented sections that hang heavily and often feature varied lengths and bead accessories. Begin by drawing the thick, tubular shapes, ensuring they overlap naturally to show weight and depth. Add texture by sketching subtle cross-hatching or squiggly lines along each dreadlock to mimic the matted texture. Pay close attention to the roots, showing how the hair seamlessly transitions into the locked section, and add deep shadows between the individual locks to enhance the striking three-dimensional quality of the style effortlessly.
16. Space Buns Drawing
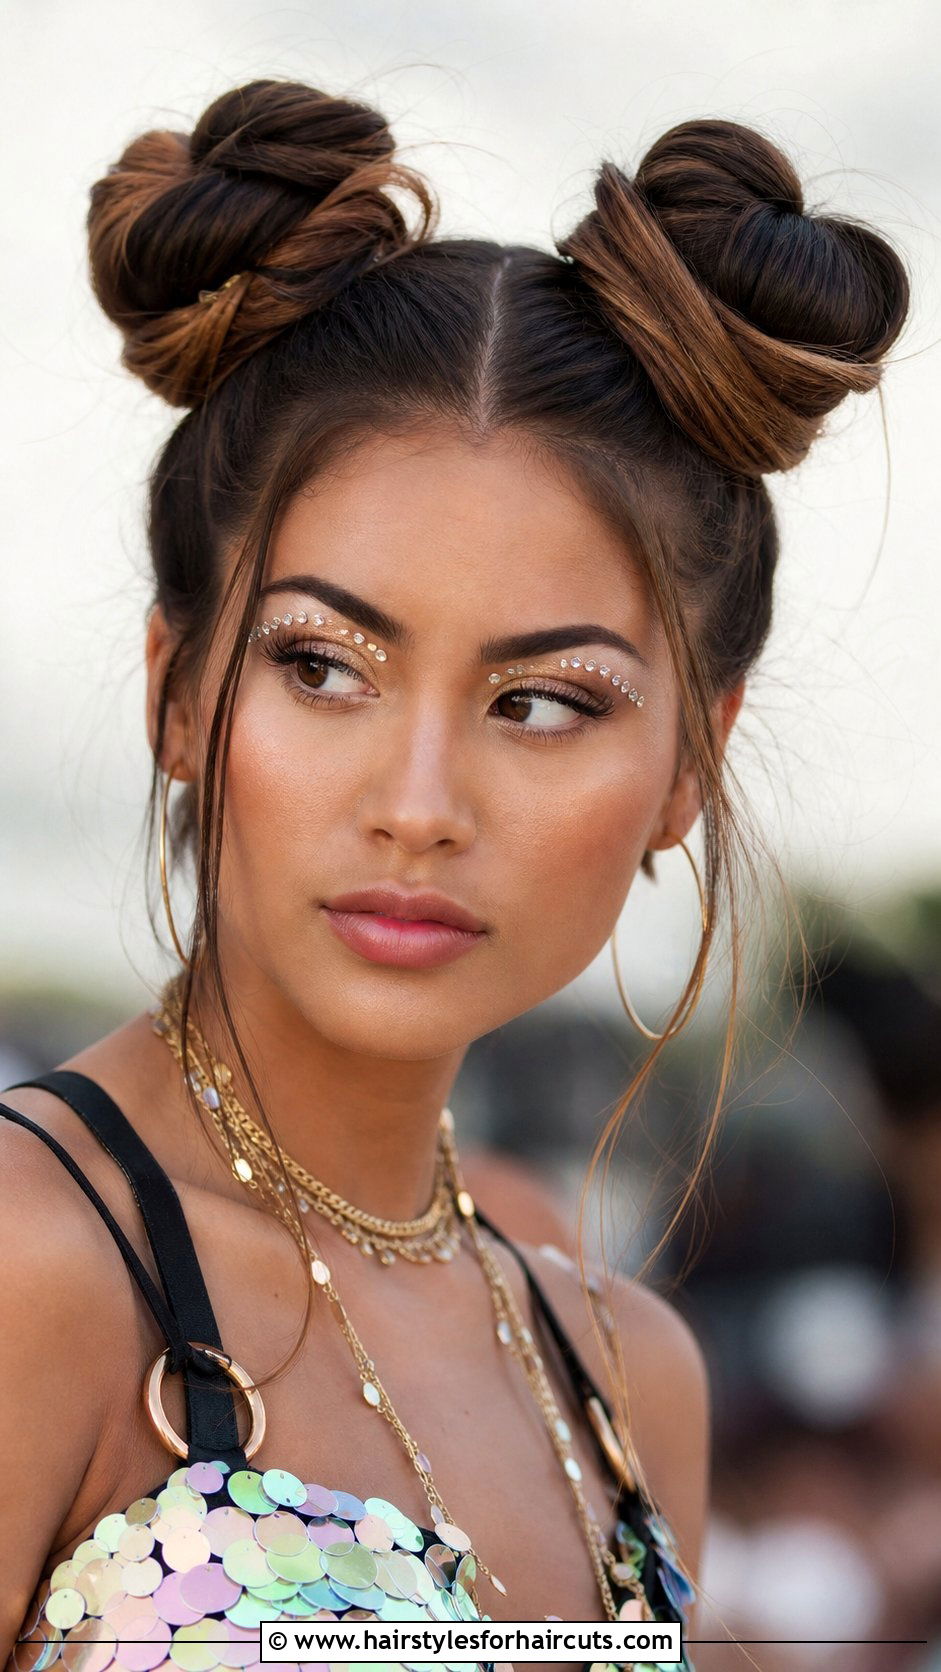
Can you translate the playful energy of a double-bun look into your artwork? When working on a space buns drawing, the goal is to capture symmetry and fun volume. This youthful style features two separate buns positioned on the top or sides of the head, resembling playful ears. Start by dividing the hair cleanly down the middle, then sketch two rounded spheres, making sure they are even in size and shape. Wrap a few loose strands around the base of each bun to show how the hair is gathered. Add a few rebellious flyaways escaping the buns to give the illustration a bubbly, festival-ready aesthetic that feels incredibly joyful and authentic today.
17. Half Up Half Down Hair Drawing
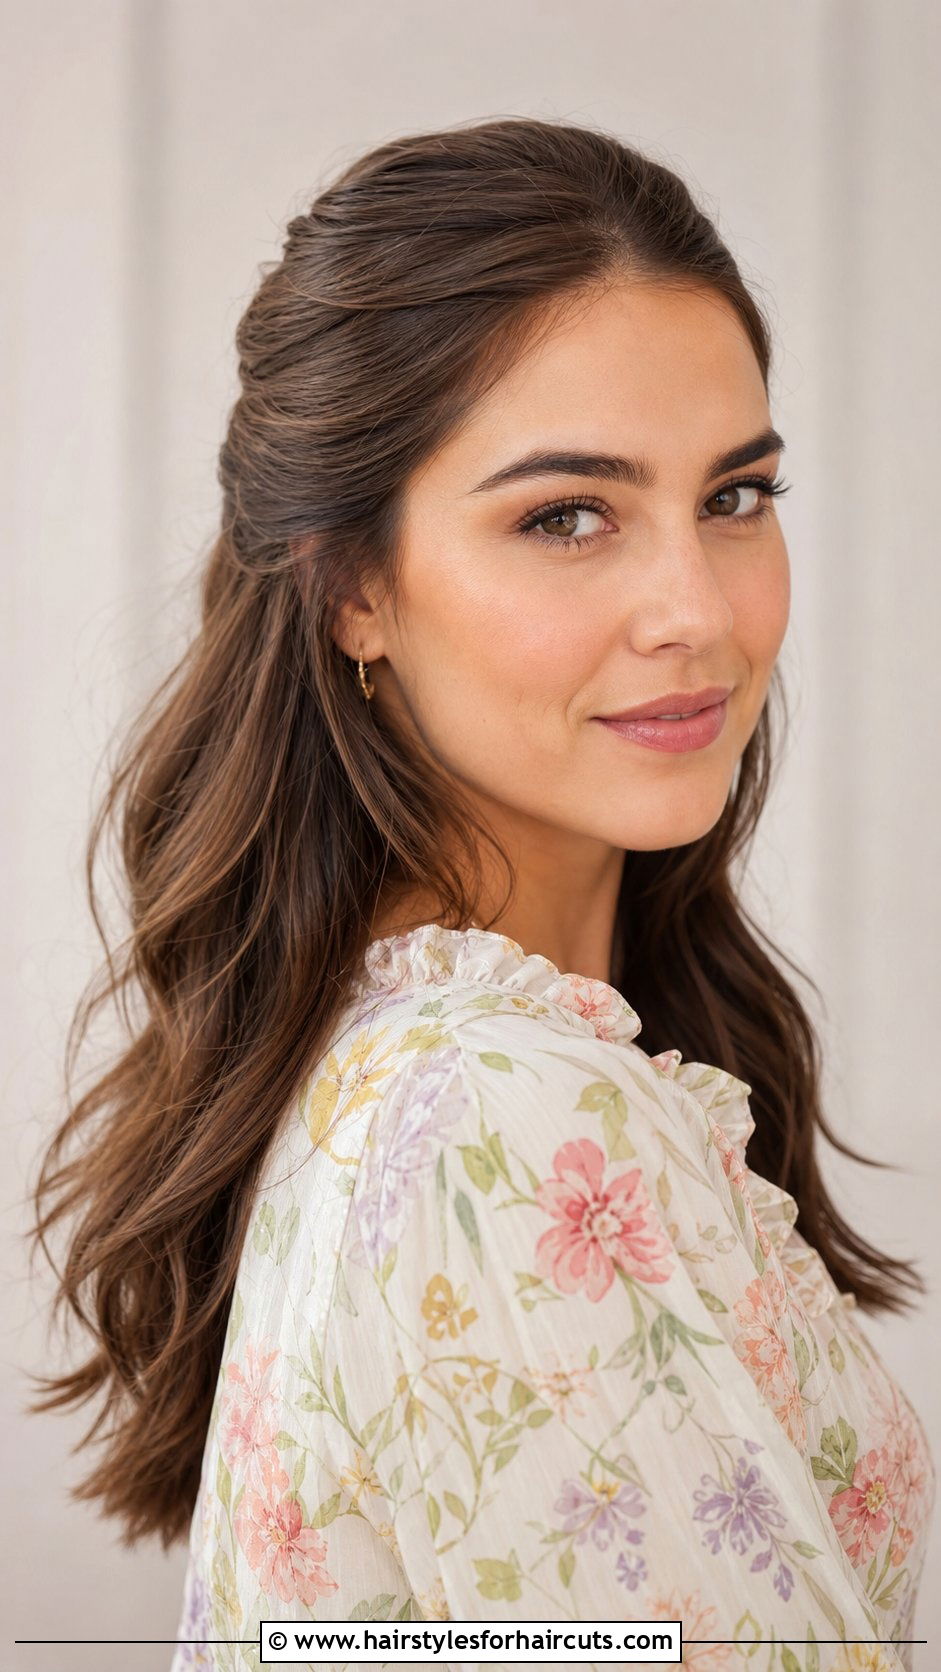
What makes the blend of an updo and flowing hair so visually appealing? Creating a half up half down hair drawing requires a seamless transition between the pulled-back section and the loose strands. This style features the top section of hair secured at the back of the crown, while the remaining hair cascades freely down the back. Begin by sketching the smooth, taut section at the top and sides, converging toward a central point. From that tie point, allow a few shorter pieces to fall, blending into the longer, sweeping lengths below. Ensure your shading smoothly transitions from the tight tension at the top to the relaxed, bouncy flow of the lower half.
18. Blunt Cut Drawing
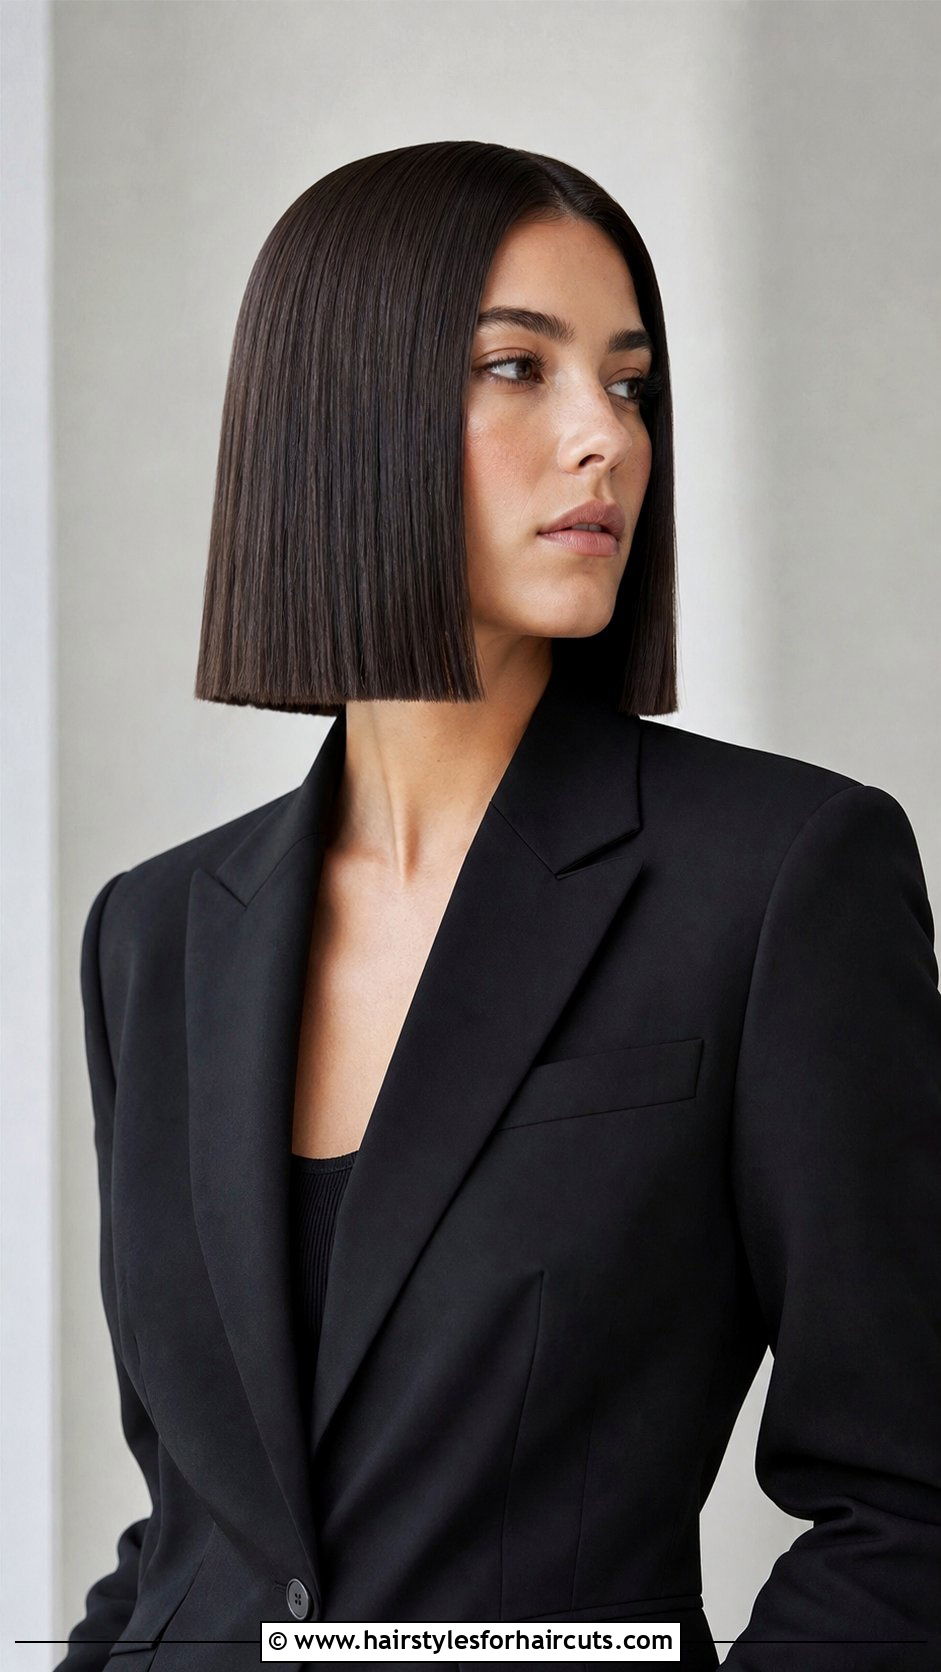
How do you render a cut that relies entirely on a sharp, unbroken line? Approaching a blunt cut drawing is an exercise in precision and clean geometry. This style is defined by its sharp, unified perimeter where all the hair falls to exactly the same length, creating a striking, heavy line. Start by establishing the exact length, making sure your bottom edge is completely crisp without any feathery or wispy strokes. The hair should look incredibly thick and solid, so use smooth shading to emphasize the dense mass. Avoid adding too many flyaways at the bottom, as the powerful impact of this look comes from its bold and flawless edge perfectly.
19. Twisted Updo Drawing
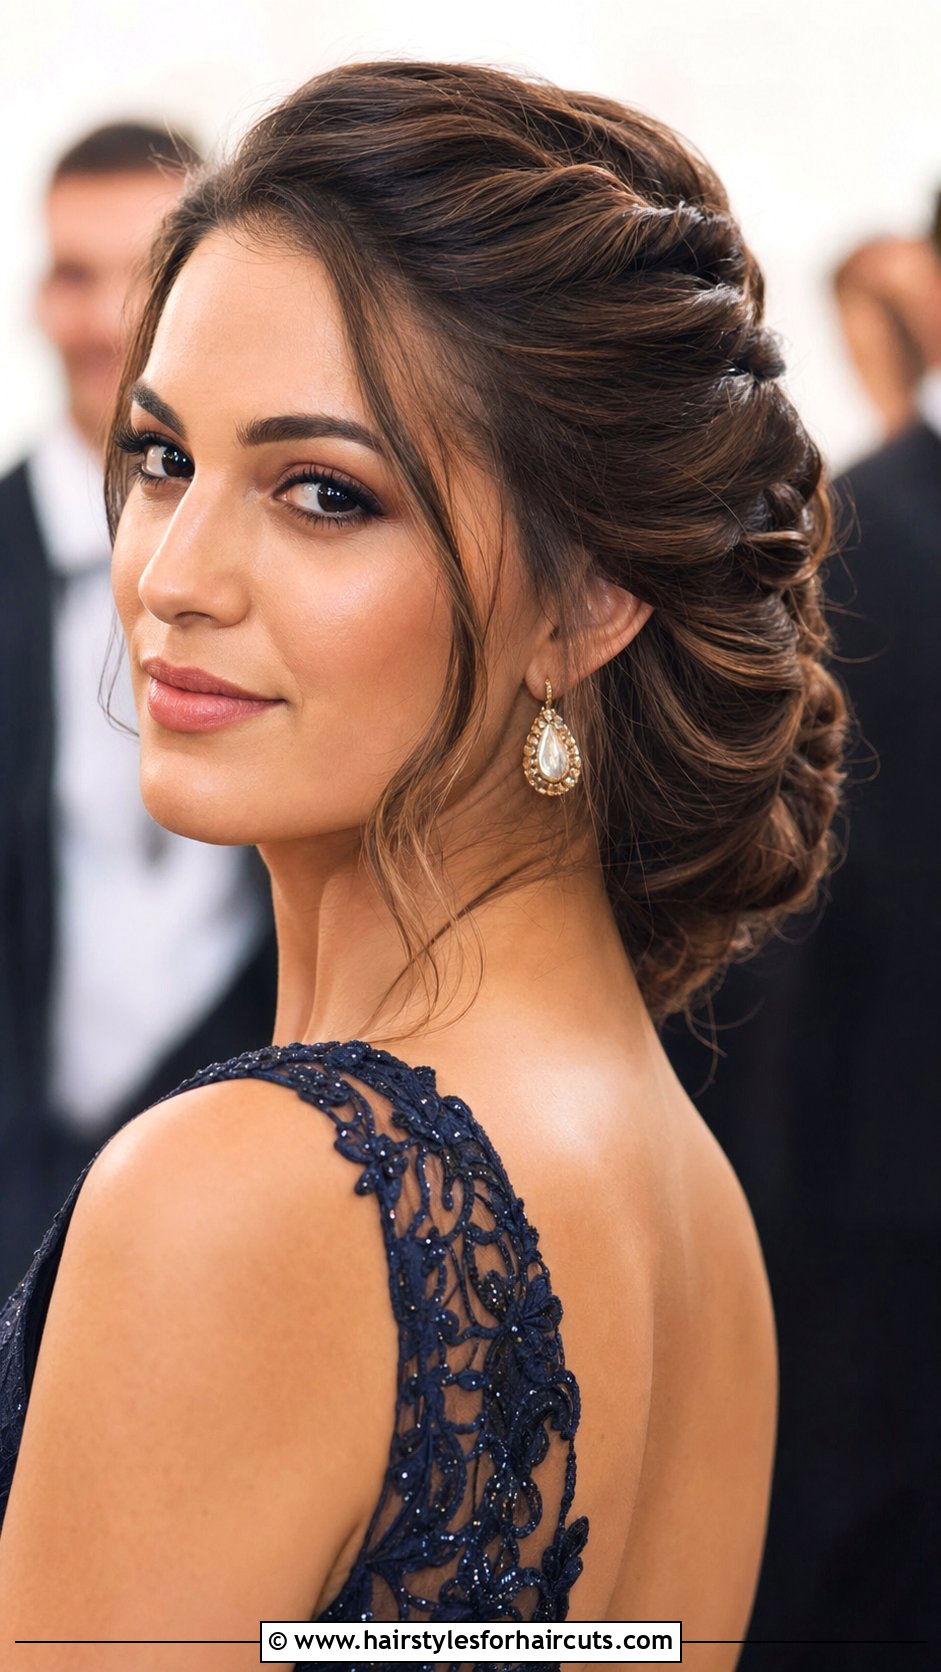
Have you ever admired the elegant simplicity of hair sculpted into a smooth coil? When you are creating a twisted updo drawing, the emphasis is on the graceful curves and the seamless wrapping of the hair. This sophisticated style involves sections of hair twisted around themselves and pinned into a low, elegant shape at the nape. Begin by drawing the thick, roped sections as they spiral and tuck into one another, ensuring the lines follow the direction of the twist. Add soft shading where the twist overlaps to create a deep shadow, giving the structure a realistic, three-dimensional appearance. Finish by adding a few delicate wisps around the face for softness easily.
20. Voluminous Curls Drawing
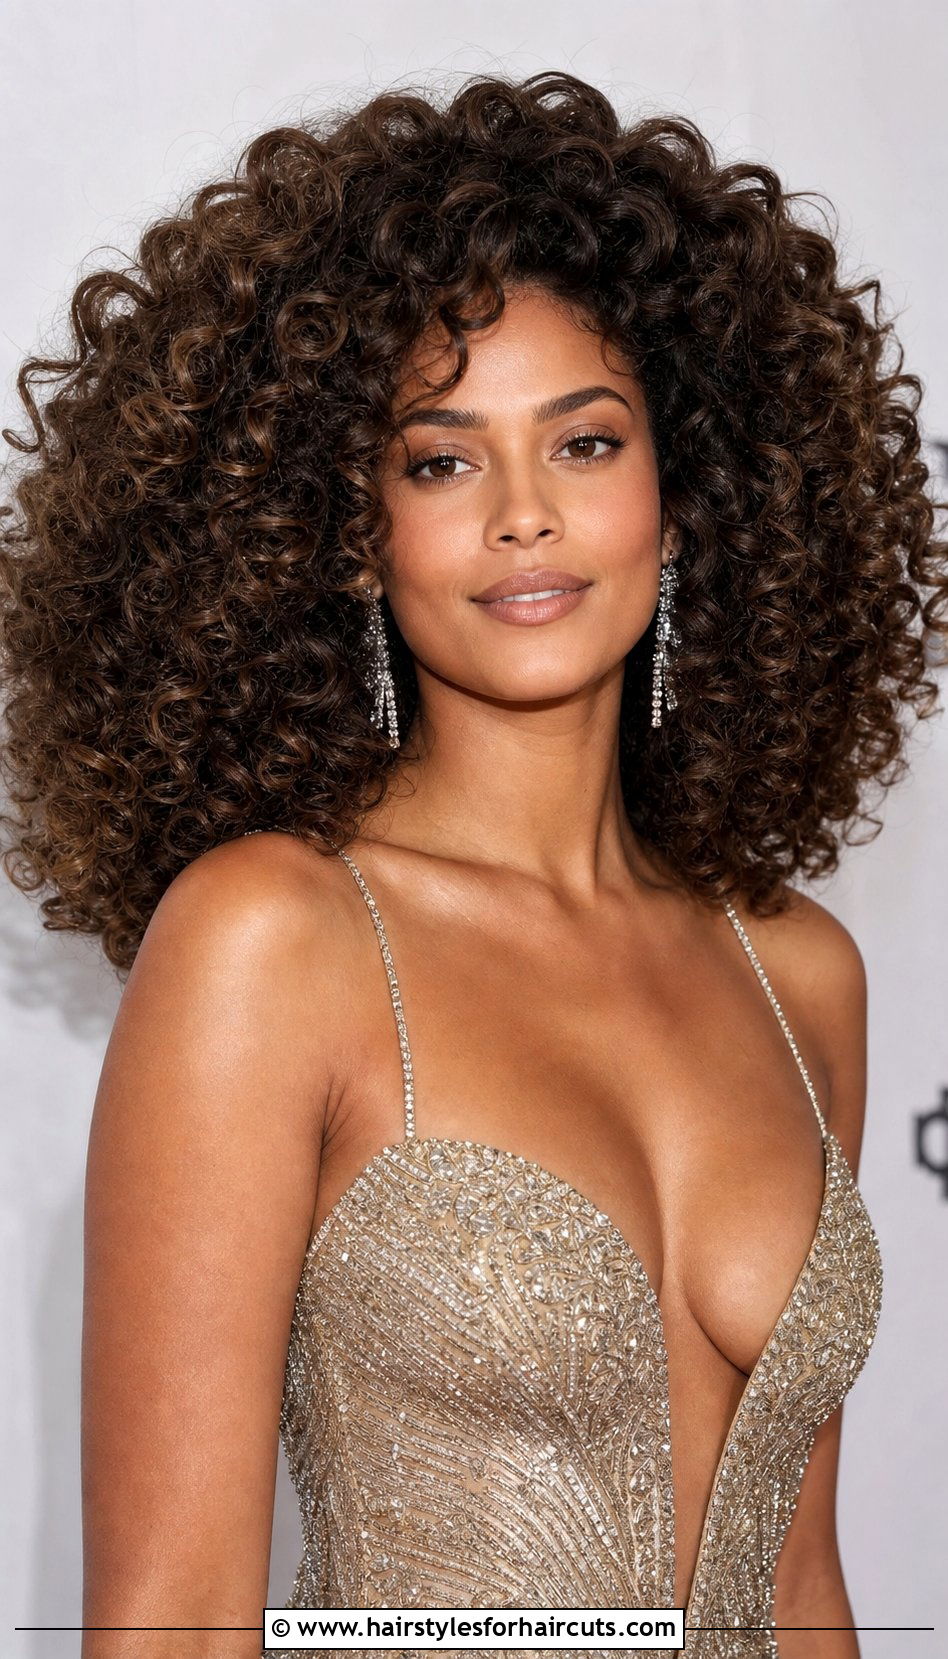
How can you make your sketches exude the larger-than-life bounce of big, dramatic ringlets? Tackling a voluminous curls drawing means prioritizing expansive shape and high contrast. This glamorous style features large, barrel curls that expand outward, creating incredible height and width around the head. Start by mapping out the massive, cloud-like silhouette before drawing any individual curls. Once the shape is set, carve out thick, rolling spiral shapes that stack upon one another. Apply heavy shadows near the roots and underneath the massive curls to support the volume, and leave the tops of the curls brilliantly white. This technique ensures the curls look springy, thick, and full of gorgeous life effortlessly.
21. Short Asymmetrical Haircut Drawing
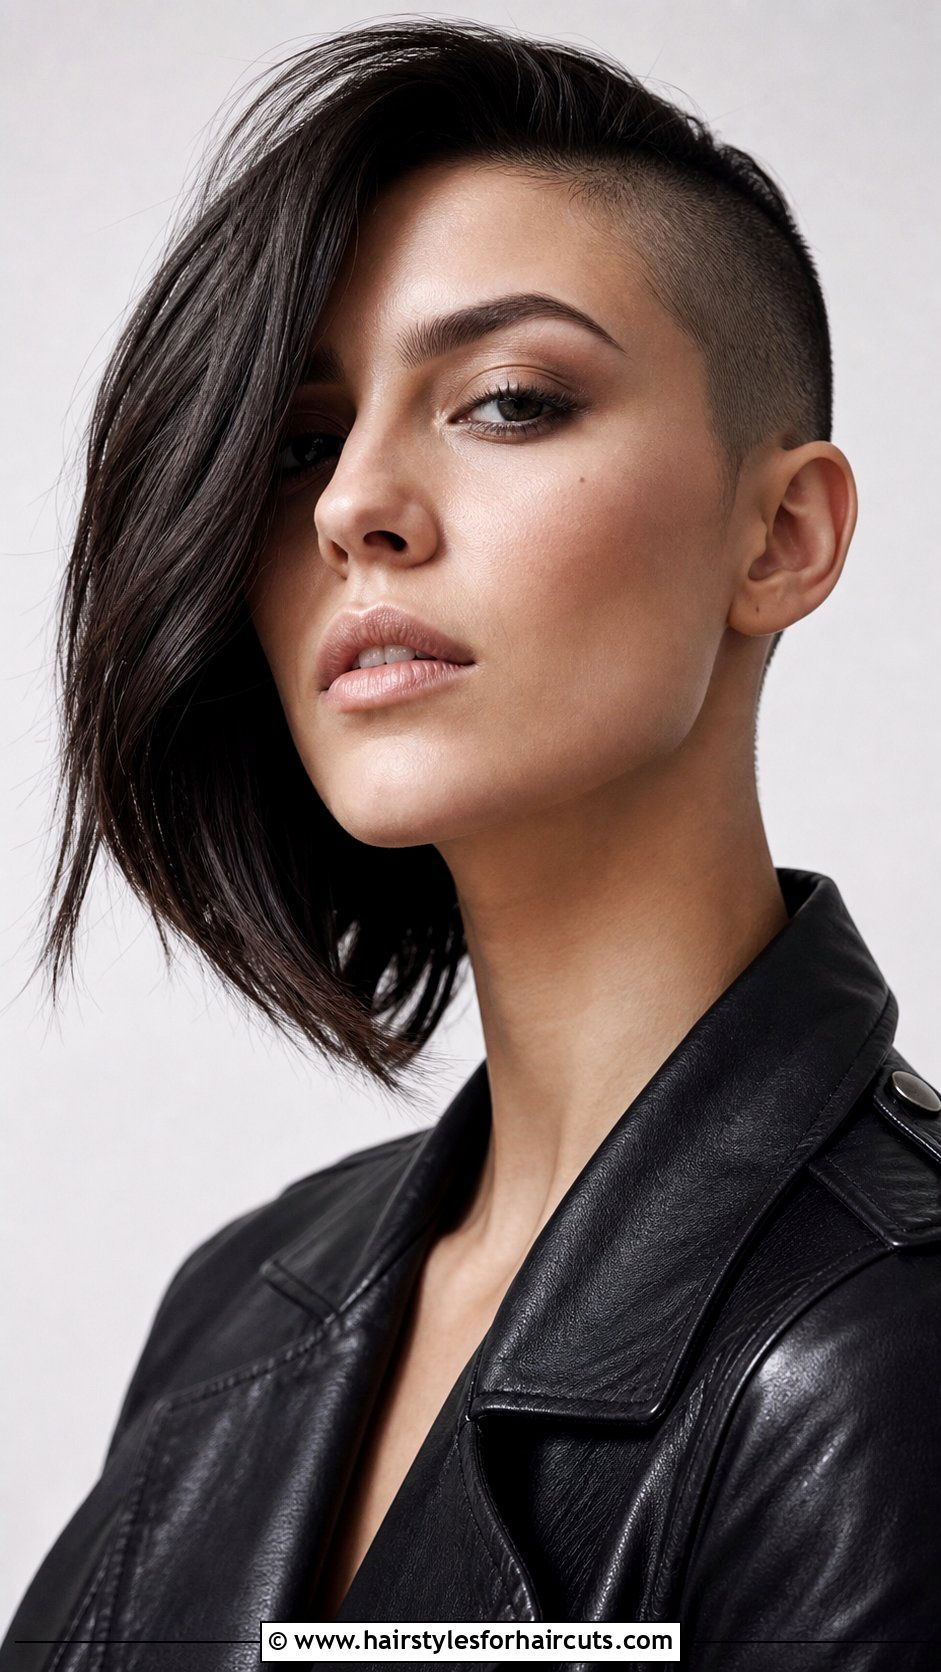
What is the most effective way to capture the edgy angle of an uneven crop? When approaching a short asymmetrical haircut drawing, the contrast in lengths is your focal point. This bold style features one side clipped close to the head while the other sweeps down dramatically, often past the chin. Begin by establishing the stark difference in lengths, using clean, sharp lines for the short side to convey a close crop. On the longer side, use sweeping, fluid strokes to show the heavy weight of the extended hair. The transition between the two extremes should feel intentional and graphic, so emphasize the sharp angle where the long side meets the short side beautifully.
22. Waterfall Braid Drawing

Can you illustrate the cascading romance of a plait that drops strands as it goes? Mastering a waterfall braid drawing involves capturing the unique motion of hair that flows both horizontally and vertically. This beautiful style starts like a traditional French braid but drops sections of hair through the plait, creating a stunning waterfall effect. Begin by drawing the horizontal woven structure across the back of the head, ensuring the crossing sections look tight and secure. Then, sketch the vertical strands falling gracefully from the braid, using long, sweeping lines to show movement. Make sure the dropped strands blend seamlessly into the rest of the flowing hair to achieve a romantic, ethereal finish.
23. Low Bun Drawing
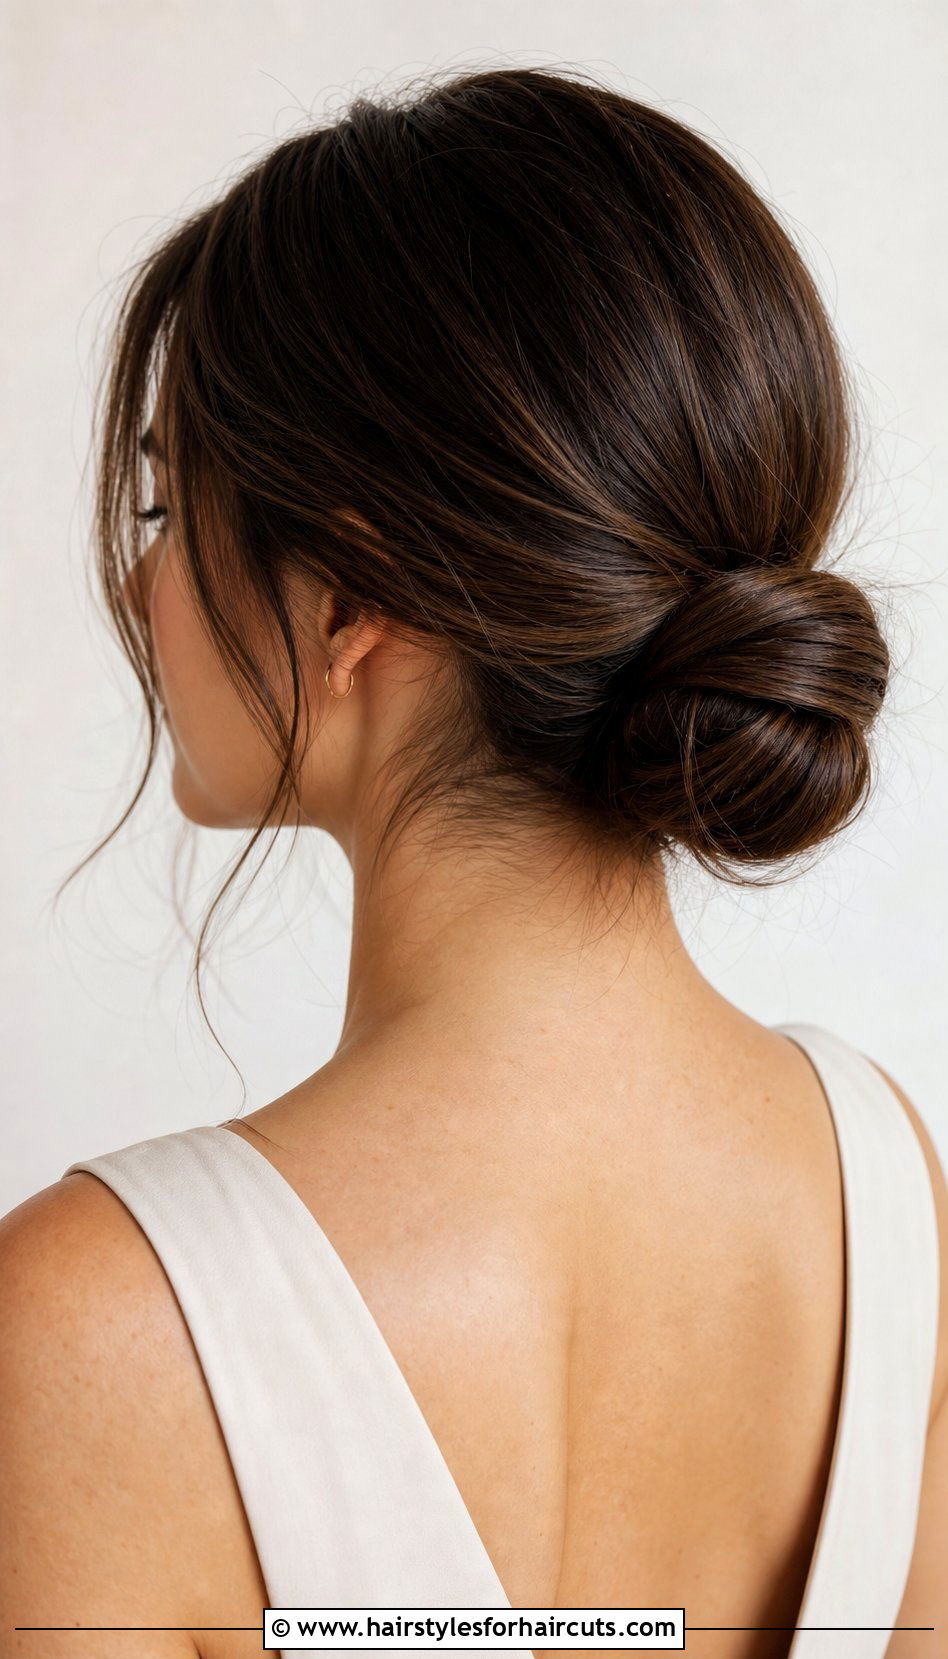
What makes the understated elegance of a nape-level knot such a timeless subject? When you are creating a low bun drawing, the focus should be on simplicity and refined texture. This classic style gathers all the hair smoothly at the nape of the neck, twisting it into a neat, compact coil. Begin by sketching the hair as it sweeps cleanly off the face and neck, converging at a single point. The bun itself should be drawn as a soft, rounded shape with a few subtle lines indicating the direction of the twist. Add gentle shadows beneath the bun and around the nape to ground the style, and leave a few soft tendrils loose for a highly realistic touch.
24. Feathered Hair Drawing

How do you capture the airy, swept-back volume that defines a retro-inspired look? Approaching a feathered hair drawing requires attention to the curved, flipped ends that give this style its signature flair. This look features heavy layers that curve away from the face, creating incredible volume at the sides. Begin by sketching the voluminous crown, then draw the side layers flipping outward at the cheeks and chin. Use long, curved strokes that sweep back away from the face to emphasize the feathered, weightless texture. Add soft shading under the flipped ends to show that the hair lifts off the shoulders, ensuring the drawing captures the bouncy, dynamic essence of this classic and iconic haircut.
25. Braided Crown Drawing
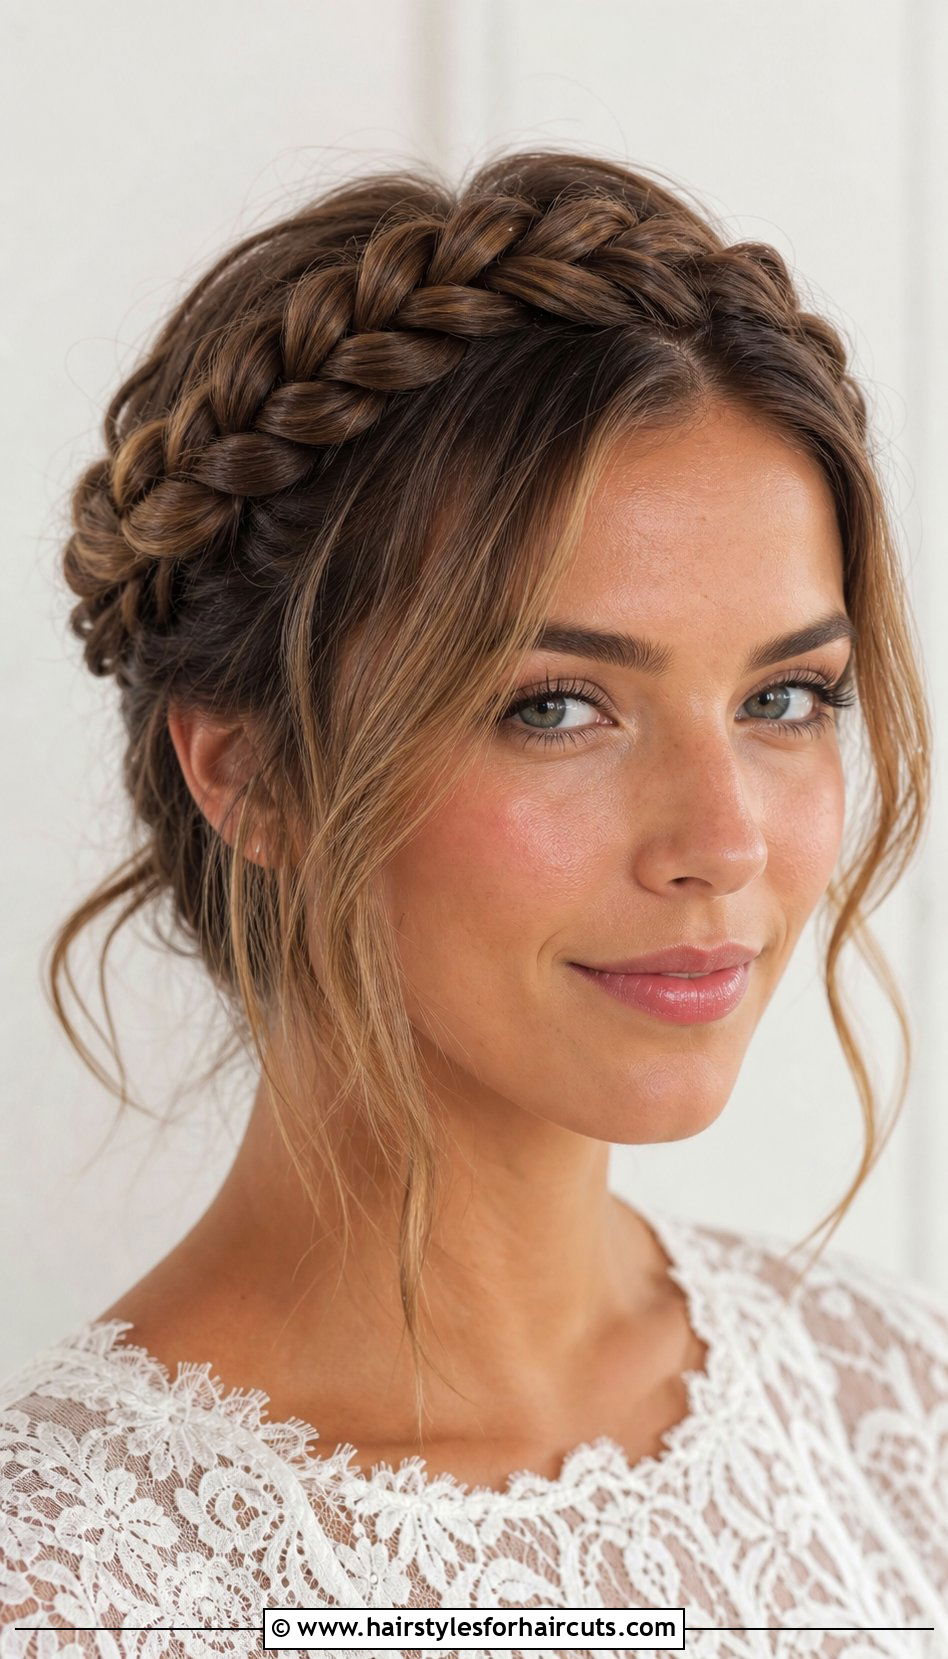
Can you draw a style that literally wraps the head in a halo of woven hair? Mastering a braided crown drawing means mapping out a continuous plait that wraps entirely around the top of the head like a tiara. This regal style involves taking the hair from the nape and braiding it upward and around the forehead. Begin by drawing a thick, continuous braid that follows the curve of the skull, making sure the intersections of the weave look tight and consistent. Add shadows directly beneath the braid to lift it off the head, creating a floating effect. Tuck the ends seamlessly into the starting point, and leave a few soft pieces in front for a romantic finish.
Conclusion:
Bringing your artistic vision to life is incredibly rewarding when you know how to handle the unique challenges of rendering hair. Whether you are sketching the sharp geometry of a blunt cut or the intricate woven details of a fishtail braid, each style offers its own creative opportunity. Remember that mastering these 25 hairstyles drawing techniques requires patience, a keen eye for light and shadow, and an understanding of how hair flows naturally. By focusing on the overall volume, the direction of the strands, and the specific textural details of each look, you can elevate your portrait art significantly. Keep practicing these foundational concepts, and watch your illustrations become more dynamic and striking effortlessly.

Leave a Reply